
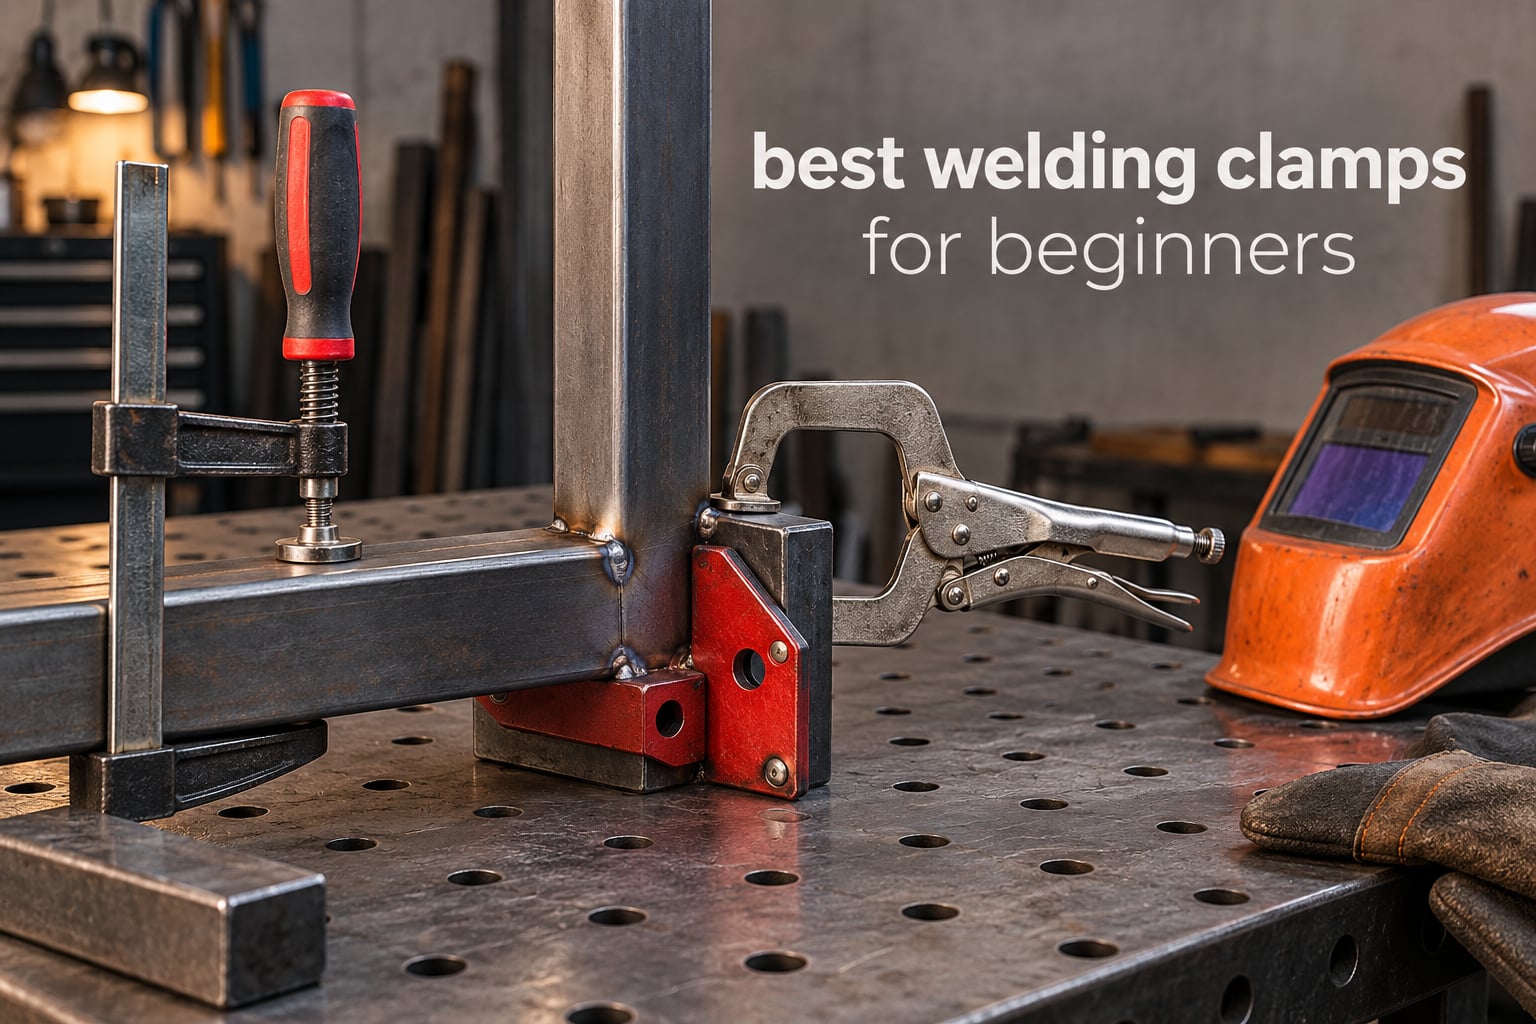
A welding clamp is a hand tool that holds two pieces of metal locked together in the right position while you weld them. The screw, ratchet, or locking trigger sets a steady pressure between a fixed jaw and a moving one, and a swivel pad on the moving jaw spreads that force so the metal is not dented. Hold that pressure and the joint stays put while the heat of the arc passes through it.
That last part is the reason clamps matter. Steel expands as it heats, so an unclamped joint moves as you weld it, and the bead comes out crooked, the gap opens up, or the whole piece twists. We compared eight clamps across several weeks of shop and garage work to build this list of the best welding clamps for beginners, and every pick here earns its place on a real first project rather than on a spec sheet.
If you are still assembling your first kit, our auto darkening welding helmet guide and welding gloves picks cover the other half of the safety setup. Clamps are the part that decides whether that first weld lands straight.
The core types of welding clamp, in plain terms:
C-clamp (G-clamp) – a fixed jaw, a sliding arm, and a screw that presses the arm into the material. Best for flat plate and edge joints.
F-style clamp (bar clamp) – a long flat bar with a fixed jaw at one end and a sliding jaw that travels along it. The most common welding clamp in the world.
Locking clamp (locking C-clamp, Vise-Grip style) – a plier-shaped clamp that locks shut at a set pressure and stays there until you release the trigger.
Corner clamp (90 degree clamp) – holds two members at a true right angle while you tack or weld a square frame.
Sheet metal clamp – a shallow, wide-jawed clamp built to grip thin material without crushing it.
Magnetic clamp – sticks to a steel table or the part itself, giving you a holding hand with no screw to turn.
Toggle clamp – bolts permanently to a jig or fixture and levers down with a rated holding capacity.
One clarification before we get into the picks, because it comes up constantly: a workpiece clamp holds your metal. A ground clamp completes the electrical circuit for the welding process. They are different tools with different jobs, and everything on this list is a workpiece clamp.
Table of Contents
Top 3 Welding Clamps for Beginners

IRWIN Quick-Grip Mini Bar Clamp 4-Pack
- One-handed trigger release
- Non-marring pads
- Up to 150 lbs of clamping pressure

Amazon Basics Face Clamp 2-Pack
- 3 inch jaw reach
- Swivel pads
- Clamps material up to 2-3/4 inches thick
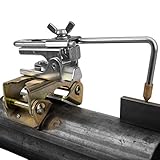
Strong Hand Grasshopper Magnetic Clamp
- 35 lbs magnetic pull force
- Brass non-contaminating tip
- Spring-loaded adjustable arm
All 8 Welding Clamps at a Glance
Every clamp below earned a place in this lineup for a specific beginner job, not because it filled a gap in the spec list. Here is the short version of what each one is for.
| Product | Specifications | Action |
|---|---|---|
| IRWIN Quick-Grip Mini Bar Clamp 4-Pack |
|
Check Latest Price |
| Amazon Basics Adjustable Face Clamp 2-Pack |
|
Check Latest Price |
 MAXPOWER 4-Piece F Clamp Set MAXPOWER 4-Piece F Clamp Set |
|
Check Latest Price |
 IRWIN Vise-Grip Locking C-Clamp 11 inch IRWIN Vise-Grip Locking C-Clamp 11 inch |
|
Check Latest Price |
 WYQYQ 4-Piece Corner Clamp Set WYQYQ 4-Piece Corner Clamp Set |
|
Check Latest Price |
 POWERTEC 500 lb Toggle Clamp 4-Pack POWERTEC 500 lb Toggle Clamp 4-Pack |
|
Check Latest Price |
| Strong Hand Grasshopper Magnetic Clamp |
|
Check Latest Price |
 Strong Hand PG114V Pipe Pliers Clamp Strong Hand PG114V Pipe Pliers Clamp |
|
Check Latest Price |
1. IRWIN Quick-Grip Mini Bar Clamp 4-Pack – Best Overall for Beginners
IRWIN Quick-Grip 1964758 One-Handed Mini Bar Clamp 4 Pack, 6″, Blue
Reinforced resin and hardened steel
Up to 150 lbs pressure
Non-marring pads
6 inch clamps
Pros
- One-handed trigger release
- Non-marring pads protect finished surfaces
- Hardened steel bars resist flexing
- Holds far more force than the size suggests
- Backed by the IRWIN lifetime guarantee
Cons
- Light-duty frame can flex under heavy loads
- Smooth pads can feel slippery on bare metal
- Some sets arrive short a clamp
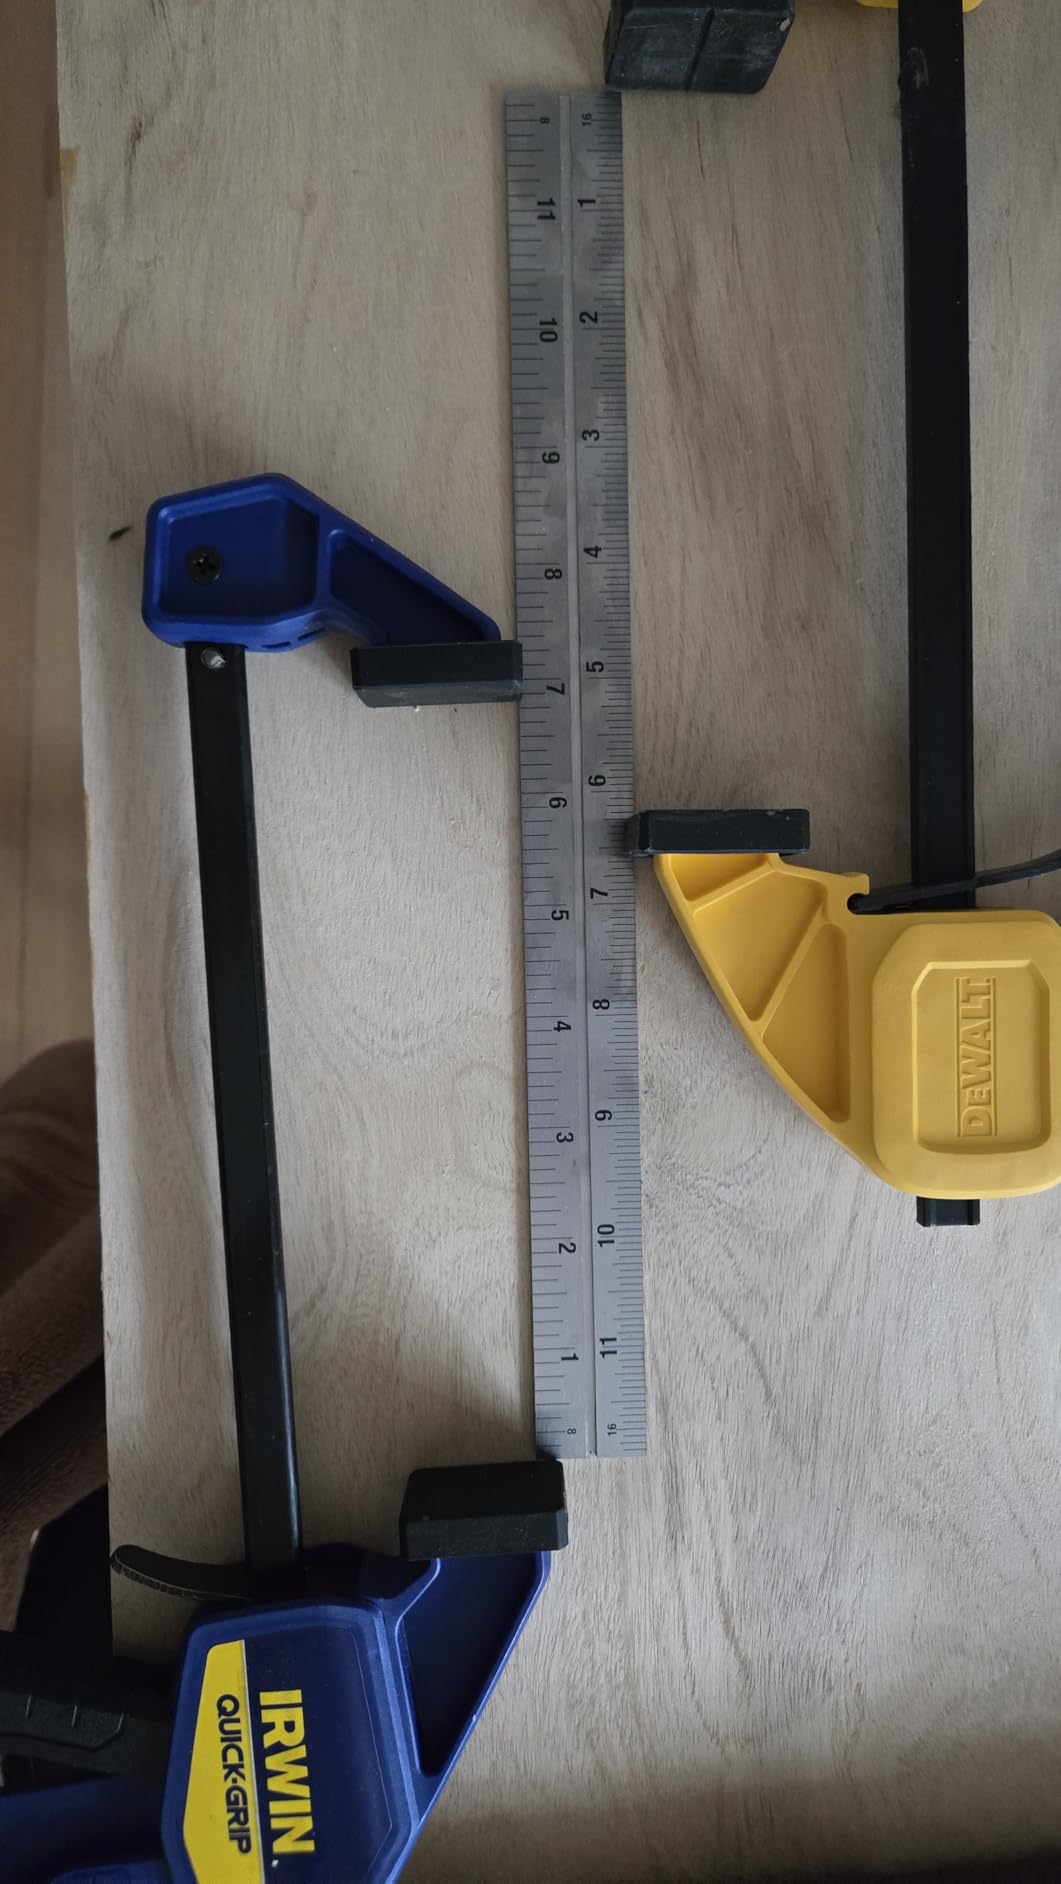
If you buy exactly one clamp set as a beginner, this is the one. These are 6-inch F-style bar clamps that clamp with a single trigger pull, so you set the squeeze, walk your hand away, and start welding. I ran them on tack welds, small brackets, and sheet-metal edges for weeks, and they never once crept mid-bead.
The one-handed release is the feature that changes how you work. You squeeze, the pad bites, you release your hand, and that hand is free to hold filler rod, move the torch, or steady the other side of the part. On a small garage table that is the difference between welding and fighting the part.
They deliver up to 150 lbs of clamping pressure from a reinforced resin body with hardened steel bars, and the bars resist flexing even when you lean on the handle. They measure roughly 21 by 8 by 2.5 inches as a set, and each clamp is 25 percent smaller than the standard Quick-Grip, which is why they fit into confined corners that bigger clamps cannot reach.
The non-marring pads are what keep them useful on visible surfaces. I have clamped finished plate with these and lifted the pad away to find no mark, no scratch, nothing to grind out. That matters more than most people expect on a first project, because the alternative is a clamp that leaves a crescent-shaped dent you cannot un-dent.
What these clamps are actually good at
Thin material, small parts, and anywhere your hands are in the way. A 4-inch piece of plate, a strip of sheet metal, a small tab – the trigger takes one squeeze and the part is held. The 150 lbs figure is real holding force, not a marketing number, and it is far more than a beginner’s first joint ever asks for.
Because they are only 6 inches, they are also the right answer when you are welding inside a box or between two walls where a 12-inch clamp physically cannot fit. That is a situation you will hit on almost every table-frame project.
When to skip them
Do not build your whole fixture strategy on these alone. The frame is light-duty resin, and if you clamp something genuinely heavy and then lean on the handle, the frame can flex, and a flexing clamp does not hold square. For thick plate or heavy structural work, the steel clamps further down this list are the right tool.
The pads are also smooth rather than toothed, which feels secure on flat and thin material but can slip on a slick, curved, or oily surface. Clean the workpiece before you clamp. And because the set is small, buy it as a four-pack – one clamp holds one location, and a square frame needs four corners held at once.
2. Amazon Basics Adjustable Face Clamp 2-Pack – Best Value
Amazon Basics Adjustable Metal Face Clamps for Woodworking, Welding, or Repairs, 3-inch Jaw Reach, 2-Pack, Black/Silver
Alloy steel body
3 inch jaw reach
Clamps material up to 2-3/4 inches thick
Swivel pads
Pros
- Alloy steel body feels sturdier than typical budget face clamps
- Thumb screw allows fine tension control
- Swivel pads spread pressure and avoid marring
- Wide 3 inch jaw reach suits varied material sizes
- Simple first tooling for a new builder
Cons
- Heavier than plastic-bodied clamps of the same size
- Thumb screw knobs need two hands to adjust
- Not suited to material beyond 2-3/4 inches thick
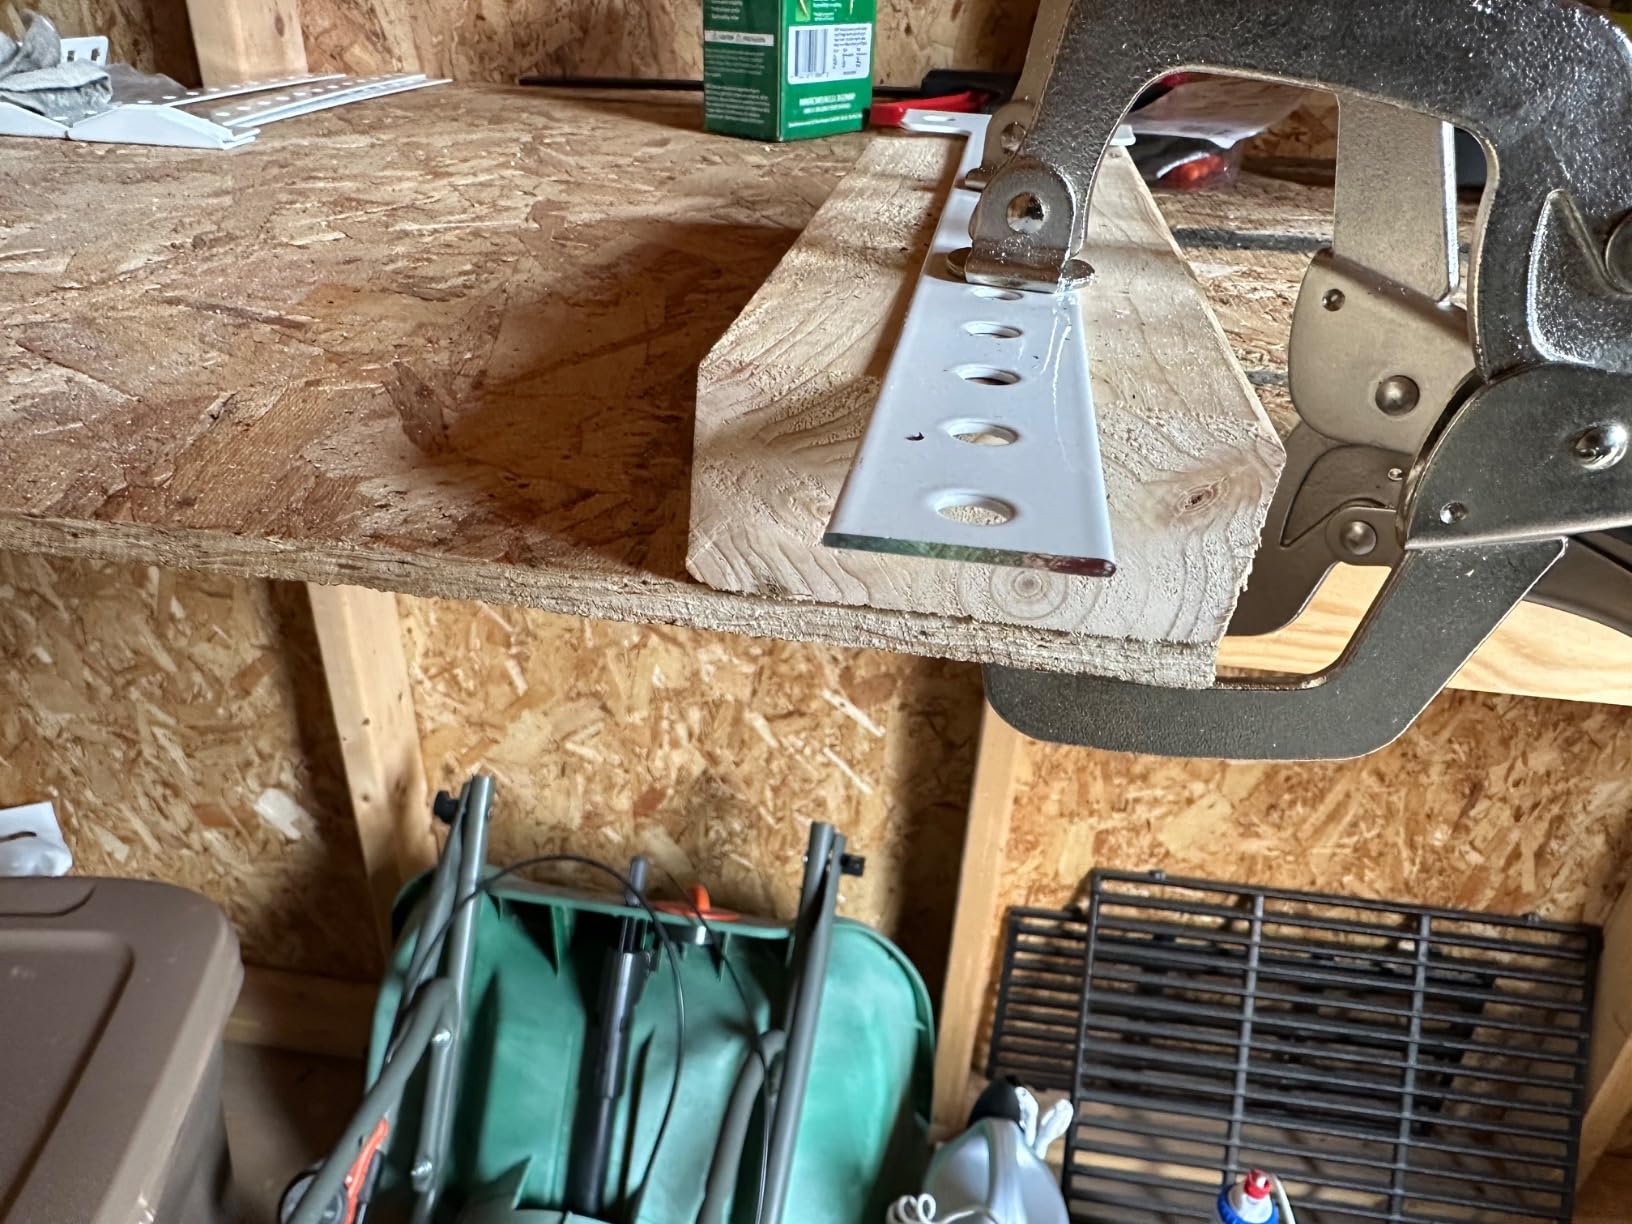
This is the clamp set to start on if you are building a budget and want something that feels solid rather than flimsy. The body is alloy steel with plastic components, and out of the box it feels more substantial than the plastic face clamps most beginners pick up by mistake.
The manual thumb screw is the underrated part. Instead of a self-adjusting jaw that grabs at whatever thickness it lands on, you set the tension yourself. On uneven or multi-layer material that is a meaningful difference – a self-adjusting clamp either stops short or crushes, and you get neither control.
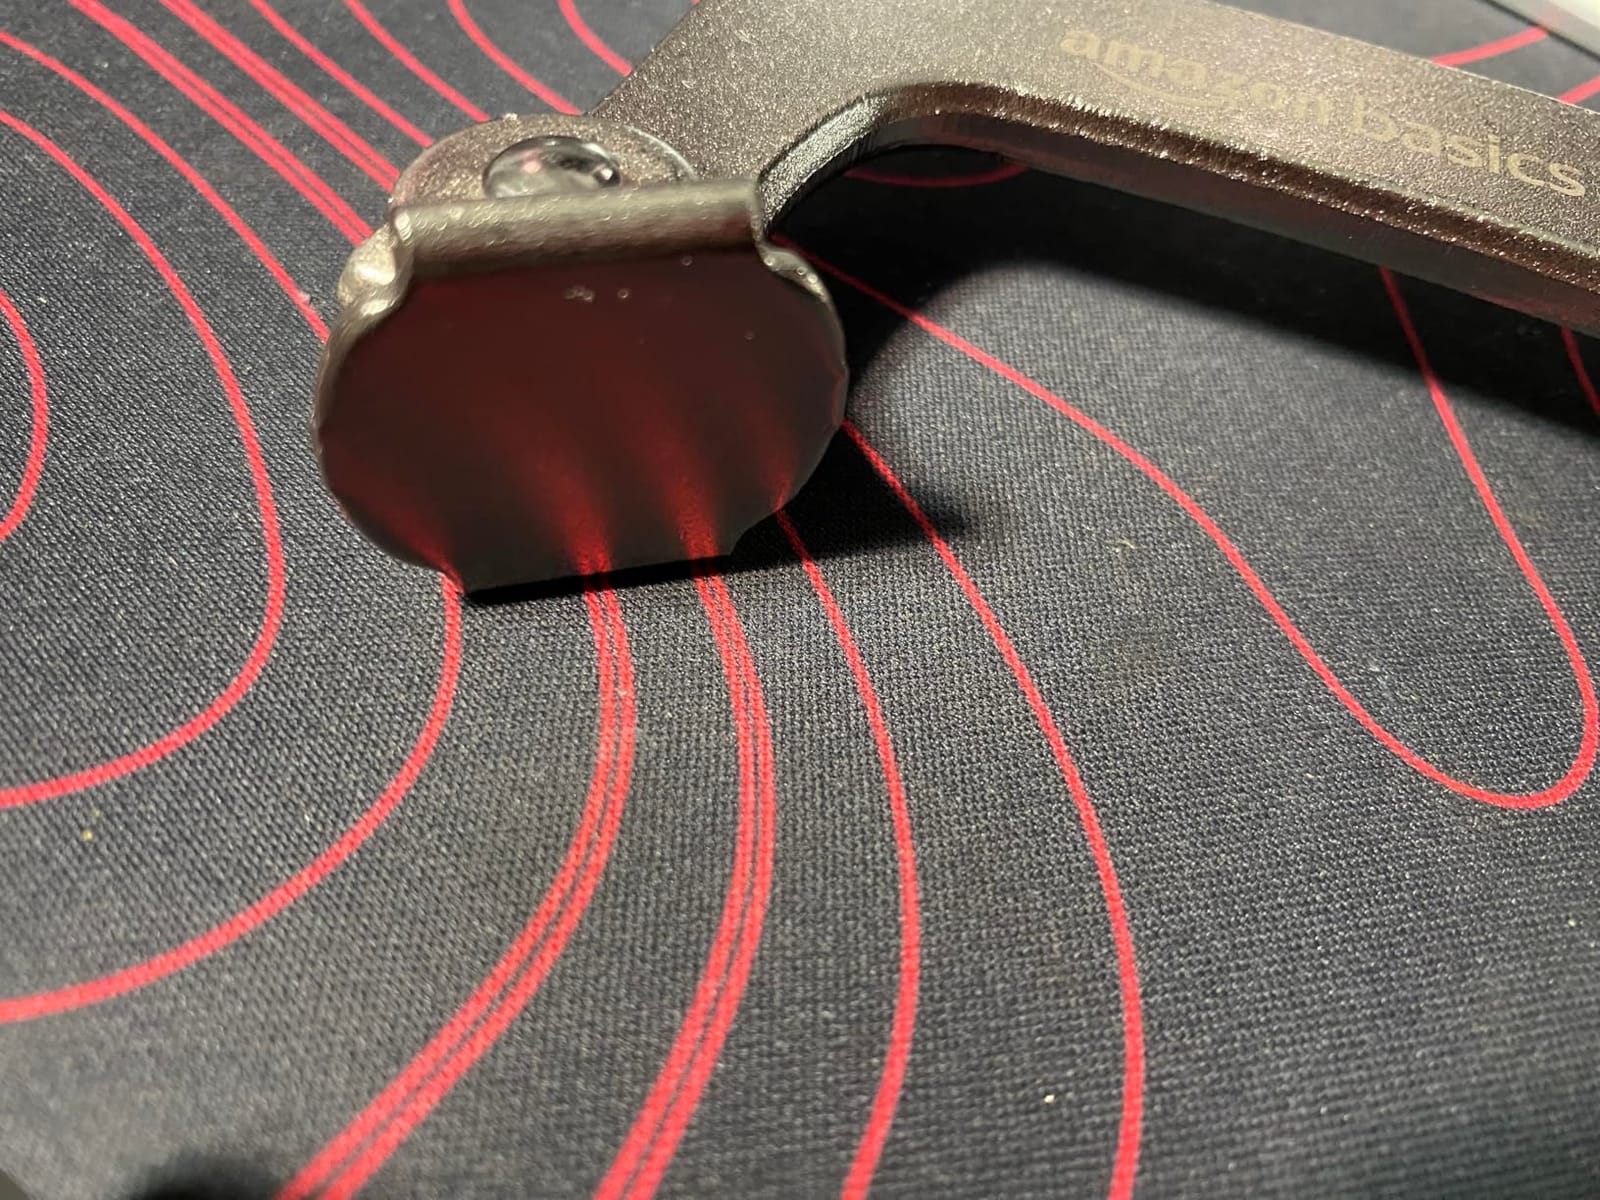
The jaws reach 3 inches wide and handle material up to 2-3/4 inches thick, which covers a lot of beginner ground: plate, flat bar, small box material, sheet. The swivel pads distribute clamping force evenly and pivot to sit flat on whatever they land on, so they do not concentrate the load into a single point and dimple the metal.
At roughly 0.82 kg for the pair, they are not light enough to forget you are carrying them, and the set measures about 11 by 5 by 0.6 inches per clamp. Users consistently call out the metal construction as the upgrade over cheaper plastic clamps, which is the entire point of this pick.
What these clamps are actually good at
Flat butt joints on plate and flat bar, where you need two pieces held edge to edge while you tack and then weld out. Two clamps let you hold both sides of a joint so the pieces cannot shift, and the swivel pads keep the finished face clean when you flip the part over later.
They also work well for holding a piece to a flat surface while you drill, mark, or fit another part to it. The manual screw means you can dial the pressure down to nothing for a light-gauge part and up for a thicker one using the same tool.
When to skip them
The 2-3/4 inch thickness limit is real. If your project uses larger box material or heavy plate, a C-clamp with more reach will hold more and last longer, and there is a size mismatch if you keep reaching for this clamp and fighting it.
Also note the thumb screw knobs need both hands to turn, so this is not a one-handed clamp, and the alloy body means these are heavier than plastic equivalents. If your work is small and delicate, that extra weight becomes tiring over a long session. For heavy structural work, use a steel bar clamp instead.
3. MAXPOWER 4-Piece F Clamp Set – Best for Heavy F-Style Work
MAXPOWER 4-pieces Light Duty F Clamps Set, Jaw Opening 4″ 8″ 8″ 12″
Four clamps, mixed sizes
4.7 inch throat on large pair
Up to 1200 lbs pressure
Black oxide spindle
Pros
- Four mixed sizes cover most assembly and fixture jobs
- Large clamps reach 1200 lbs of clamping pressure
- Drop-forged body and heat-treated arm adjust smoothly
- Black oxide spindle resists wear and rust
- Swivel pad centers itself on the workpiece
Cons
- Heaviest set in this lineup
- Capacity is uneven because two clamps are light duty
- Different rail sizes between light and standard clamps
A four-piece set solves a problem beginners hit fast: one clamp holds one location, and every real project needs three or four held at once. This set bundles the sizes most first projects reach for, so you make one purchase instead of four.
The two large clamps are the reason to buy it. They have 4.7 inch throat depth, 8 inch and 12 inch jaw openings, and up to 1200 lbs of clamping pressure, which is the highest force figure anywhere in this lineup by a wide margin. The two smaller clamps give you 4 inch and 8 inch jaw openings with 2.4 inch throat depth and 260 lbs of pressure.
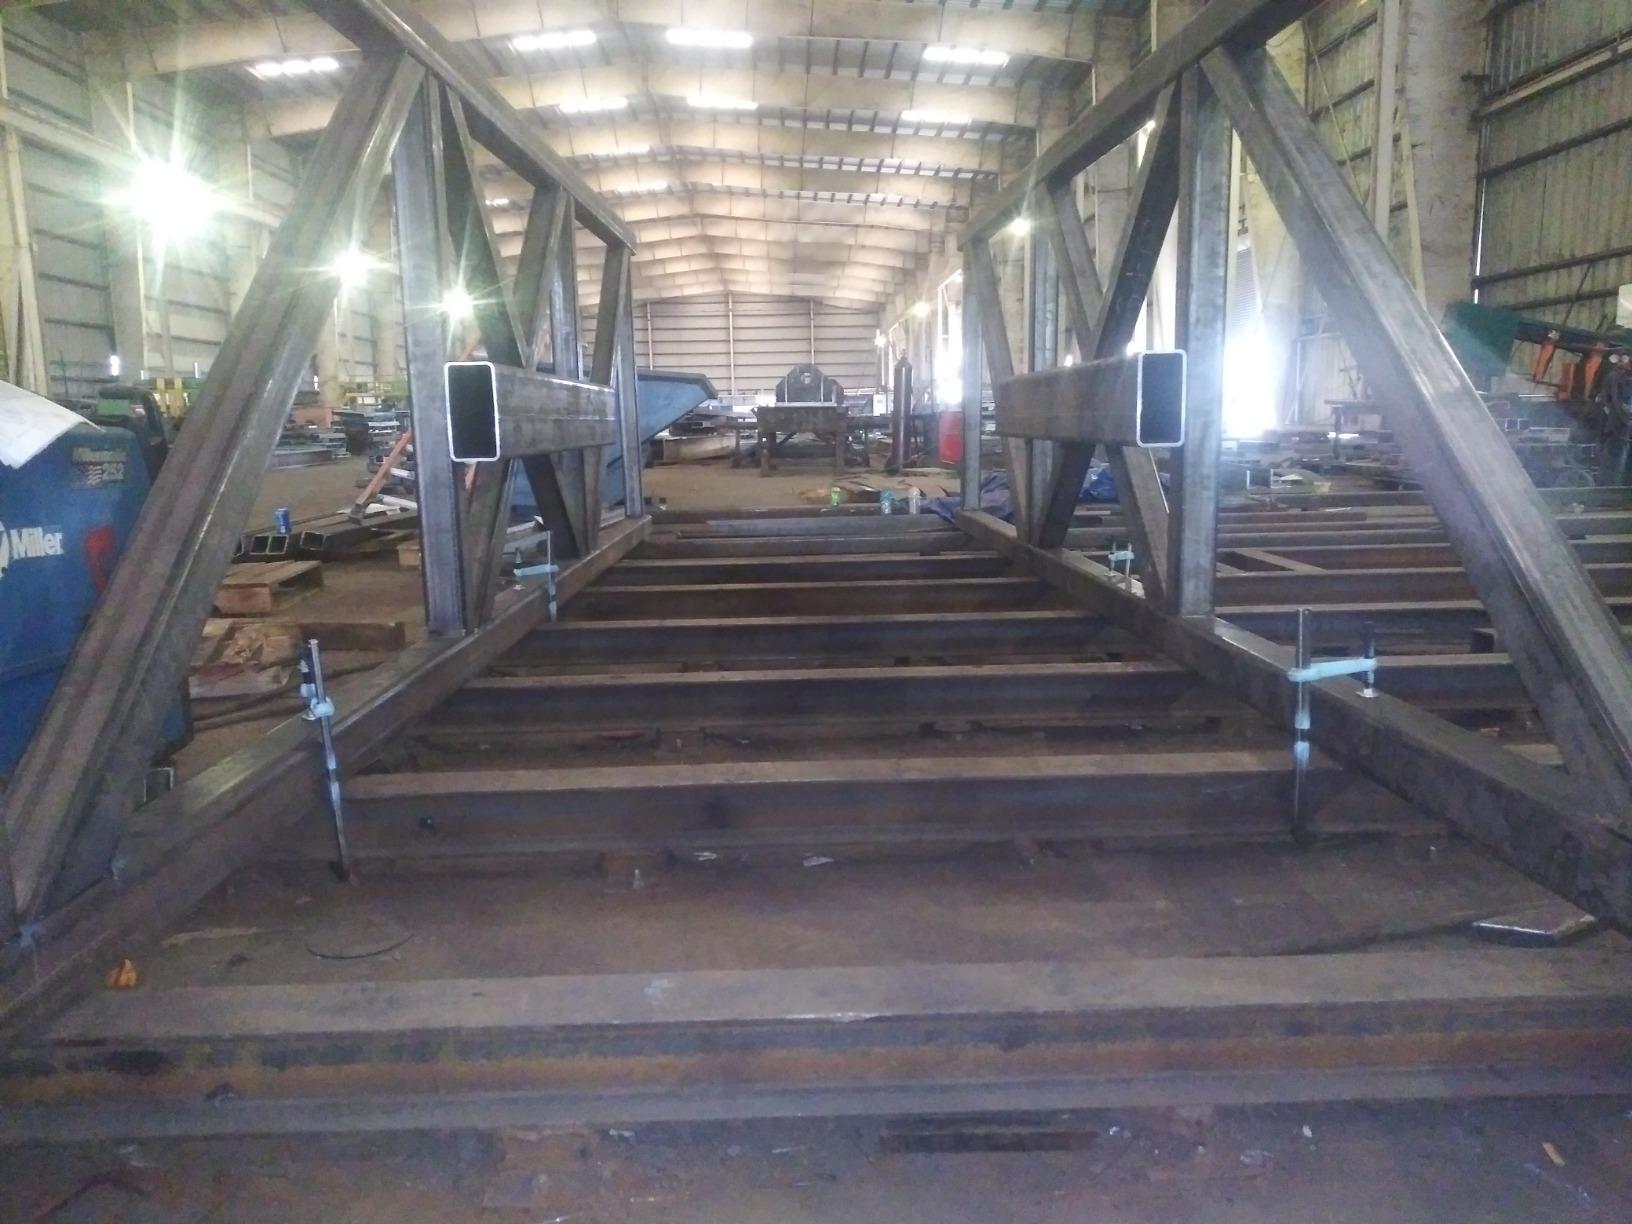
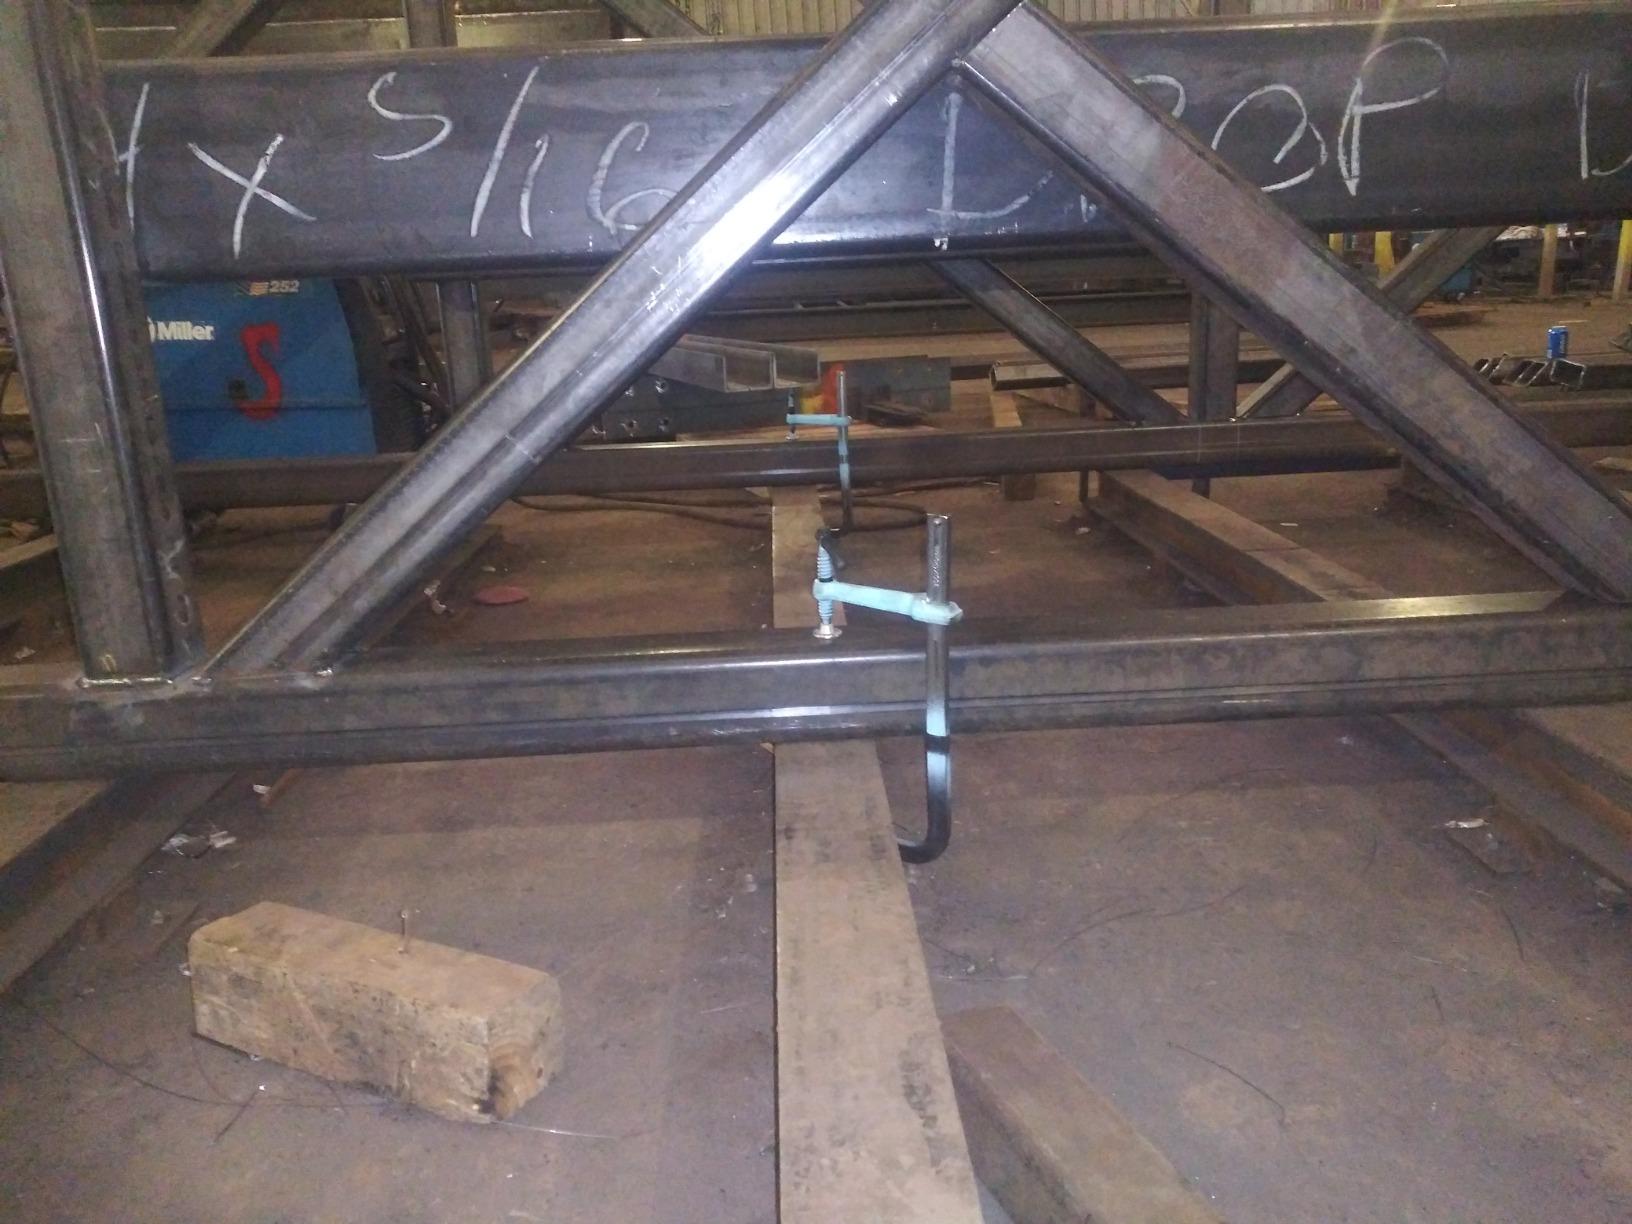
Construction is full steel with a drop-forged bar and a heat-treated sliding arm, and the adjustment is noticeably smooth compared with cheaper screw clamps. The black oxide spindle resists wear and impedes rust, which matters if the set lives in a damp garage between projects.
The swivel pad pivots and centers itself on the workpiece surface, so the load lands flat instead of rocking on an edge. Owners specifically value the jump from the light duty pair to 1200 lb standard clamps in one kit, describing it as a practical single purchase rather than a collection.
What these clamps are actually good at
Steel frame and structural work where clamping force is doing real work – holding two heavy members in position while a tack cools, or pinning plate flat against a larger assembly. The 4.7 inch throat on the large pair reaches around obstructions that a shallow face clamp simply cannot get behind.
The 12-inch member also gives you reach for long spans, and the mixed sizes let you build a fixture with different corner spacing instead of jury-rigging with one clamp size.
When to skip them
At roughly 3.2 kg for the set, this is the heaviest group in the lineup, and lugging all four to a small table for a light-gauge project is a poor trade. If your work is mostly sheet metal or small brackets, the lighter mini bar clamps handle it more easily.
Be aware the capacity is uneven – the two smaller clamps are light duty, so do not plan a heavy structural weld around them. The rail diameters also differ between the light and standard clamps, which makes the two pairs feel unlike tools from the same set until you get used to it.
4. IRWIN Vise-Grip Locking C-Clamp 11 Inch – Best for Locking Hold
IRWIN VISE-GRIP Original Locking C-Clamp, 11″, 19
Heat-treated alloy steel
4 inch jaw opening
3-3/8 inch jaw capacity
Trigger release
Pros
- Locking mechanism holds its setting without re-tightening
- Heat-treated alloy steel resists deformation
- 4 inch jaw opening handles flat round and odd shapes
- Quick one-handed trigger release
- Backed by a limited lifetime warranty
Cons
- Jaws are shallower than a true C-clamp
- Screw takes a couple of turns to set and reset
- Fixed jaw geometry limits joint shapes
This is the clamp to reach for when you want to squeeze a part once and forget about it. You turn the screw until the pressure feels right, close the handle, and the setting holds. On a long seam that means you are not crawling back down the joint every few inches to re-tighten.
The trigger release is the second reason it earns a place. One squeeze and it drops instantly, which is much faster than backing a screw out by hand, and it leaves both hands free for the next position.
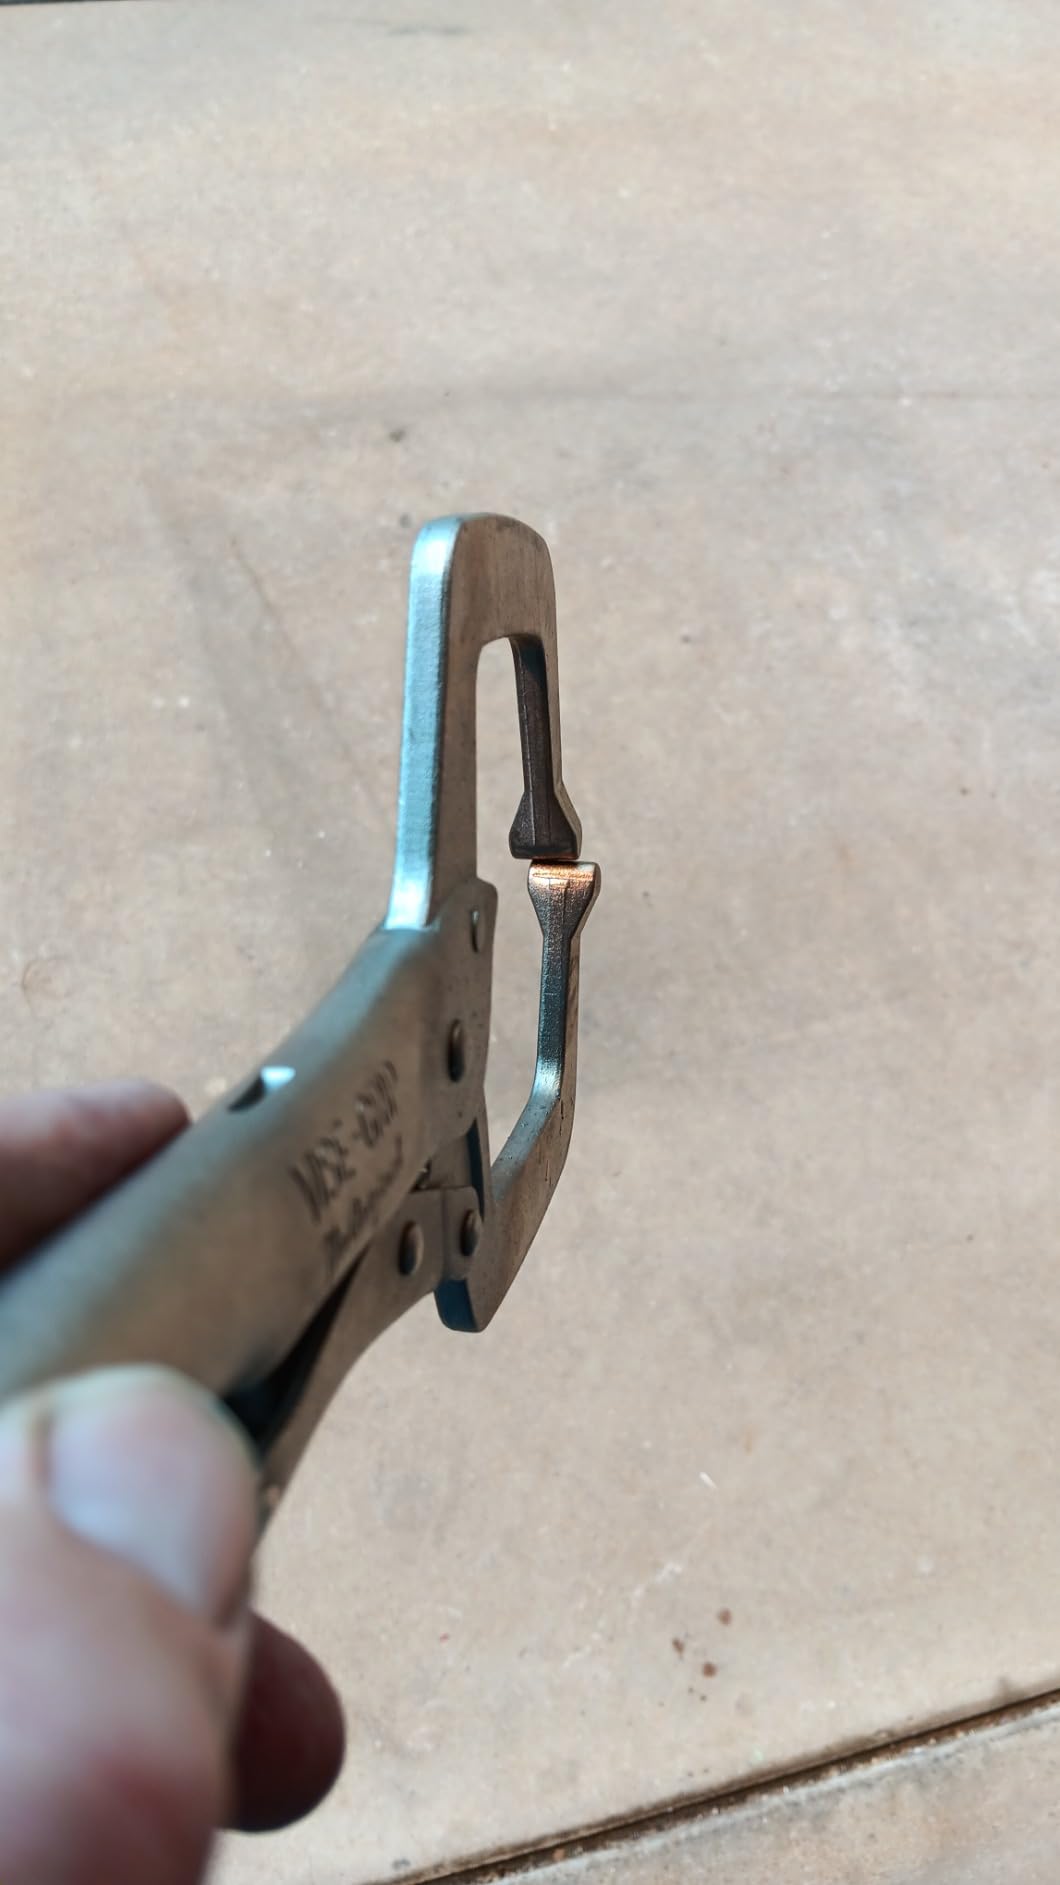
The 4 inch jaw opening and 3-3/8 inch jaw capacity handle flat plate, round bar, and irregular shapes, and the heat-treated alloy steel body holds its shape under pressure. It measures 13.25 inches long by 0.39 inches wide and weighs about 0.75 kg, so it is a full-size tool that still fits in a normal tool bag.
Reviewers consistently point to the set-and-forget locking behavior, the wide opening, and the durability of the heat-treated steel as the reasons this design has stayed in toolboxes for so long. A limited lifetime warranty backs it.
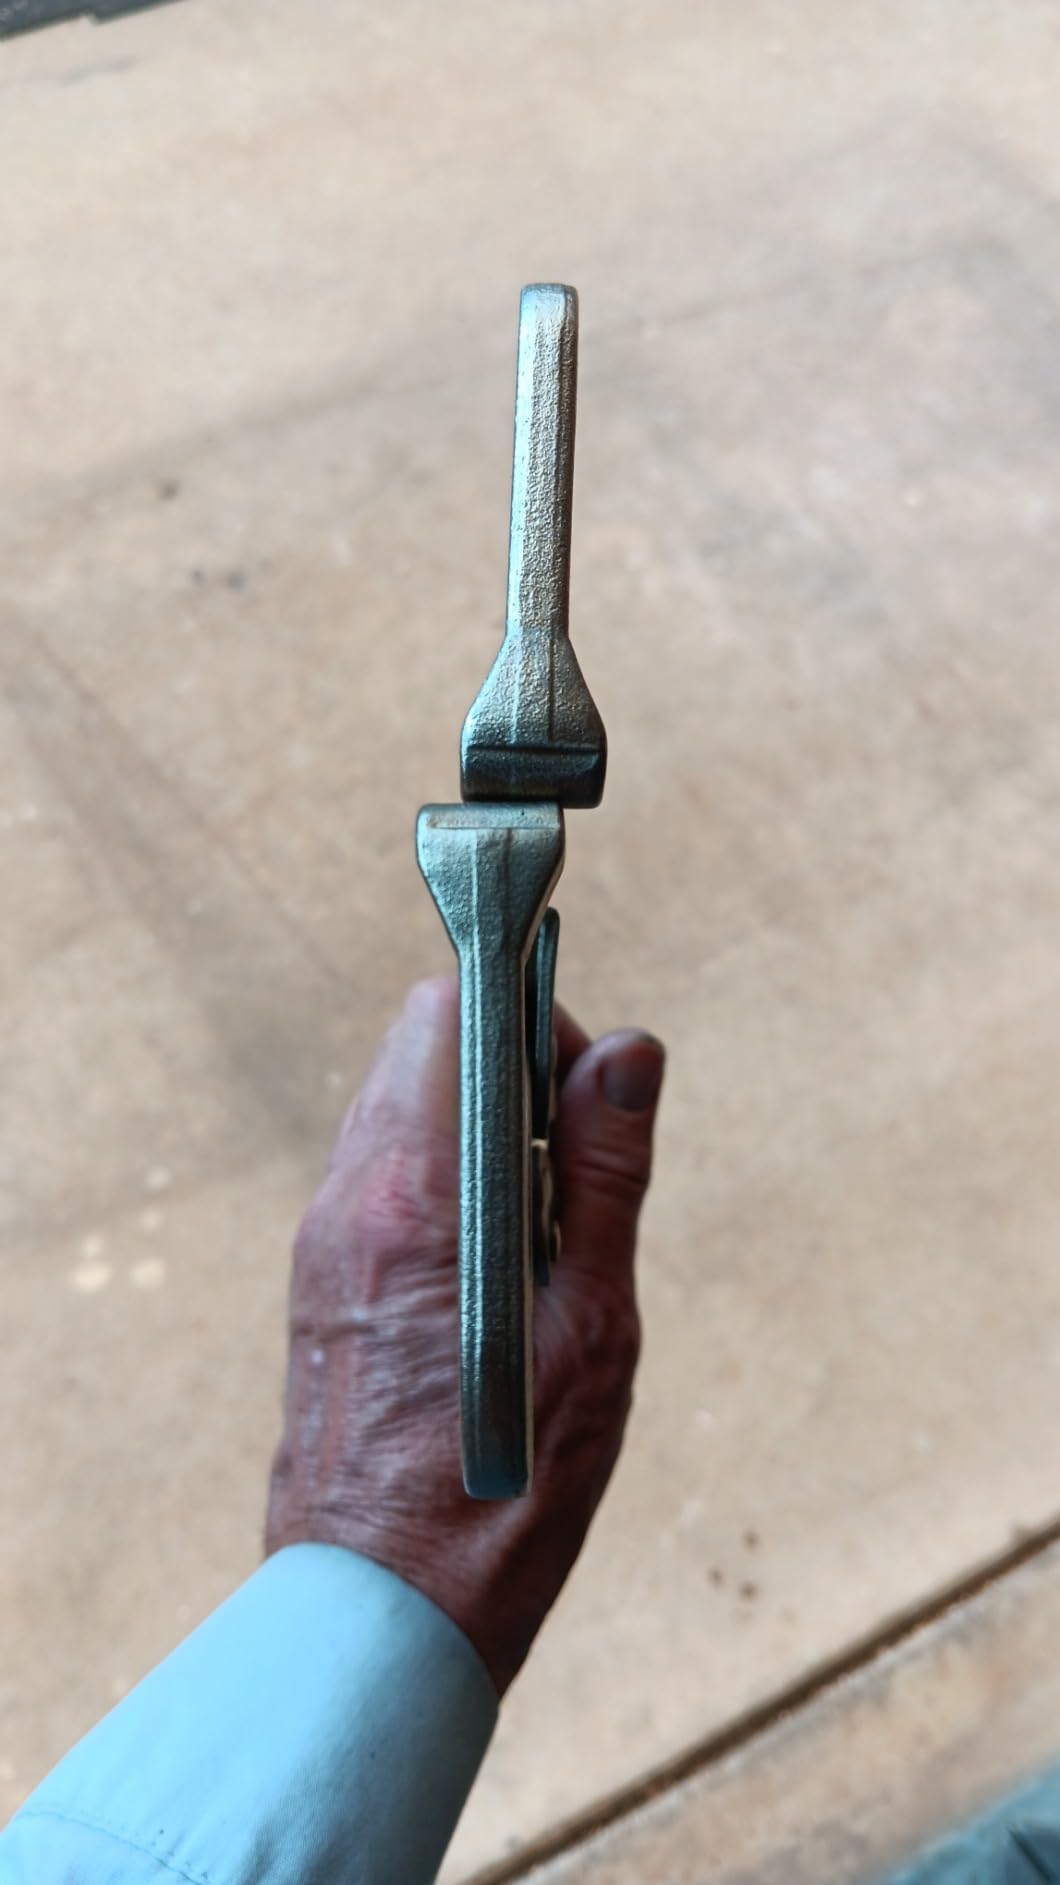
What these clamps are actually good at
Fit-up work where the joint must not shift at all: two pieces of plate held edge to edge, a bracket pinned to a larger part, or anything where you want to check alignment with both hands free. Because the setting is locked, it stays put while you move around the piece, measure, and mark.
It is also the fastest option for repetitive positioning on the same joint, which is the bulk of a first project’s work.
When to skip them
The jaws are not as deep as those on a true C-clamp, so it suits lighter workpieces. If you need to reach around an obstruction or clamp a heavy member with real mechanical advantage, a bar clamp with a deeper throat is the better tool.
The adjustment screw also takes a couple of turns to set and reset, and the fixed jaw geometry limits which joint shapes it can address cleanly. This is a positioning tool, not a squaring tool – if your problem is a 90 degree angle, use a corner clamp instead.
5. WYQYQ 4-Piece Corner Clamp Set – Best for 90 Degree Squaring
WYQYQ 4pcs Corner Clamp – Right Angle 90 Degree Wood Clamps For Woodworking, With Adjustable Swing Jaw Aluminum Alloy Frame, For Welding, DIY Woodworking
Aluminum alloy die-cast body
Max range about 2.75 inch
Jaw width 3.74 inch
Four per pack
Pros
- Holds two pieces at a true 90 degree
- Light aluminum body is easy to reposition constantly
- Rotating handle works from either side
- Four clamps secure a small frame or box
- Oval base slot allows bench mounting
Cons
- Clamping range limited to about 2.75 inches
- Shallow jaw depth will not square thick material
- Less rigid than a steel corner clamp
Box tube frames are what most beginners weld first, and a square frame welded out of square is the classic beginner mistake. A corner clamp holds two members at a true right angle so the fit-up is already correct before the first tack, which removes the distortion problem before it starts.
This set holds maximum clamping range of about 2.75 inches, with a jaw width of 3.74 inches and a jaw depth of 1.38 inches. The single-handle claw rotates in both directions, so you can clamp an awkward orientation without unscrewing and regripping from the other side.
The die-cast aluminum alloy body is light enough to reposition constantly, which you will do many times while building a frame, and it comes with a non-slip rubber handle. The oval hole in the base lets you bolt them to a workbench so they are always where you set them down.
Four clamps per pack is the right count. One corner clamp holds one corner, and a small rectangular frame has four, so you can secure the whole shape at once rather than chasing it around.
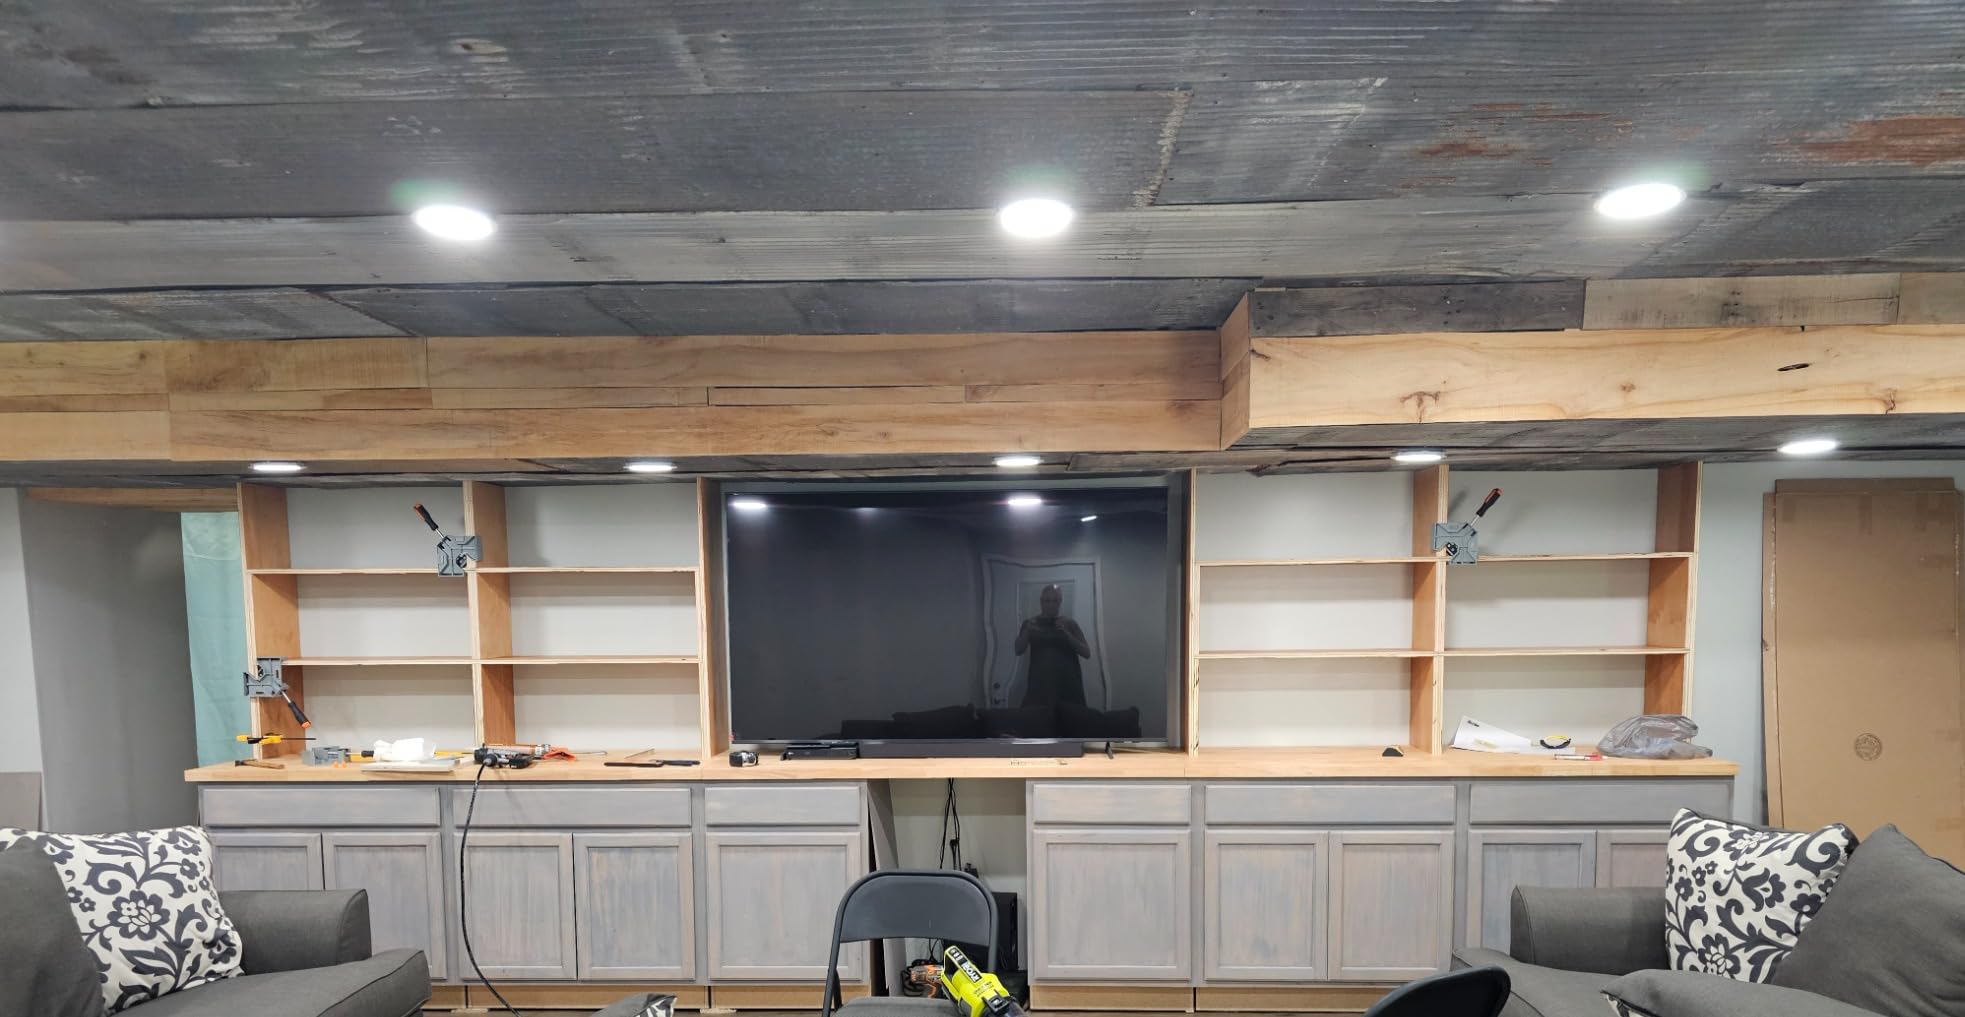
What these clamps are actually good at
Light square frames in wood or thin-gauge metal, cabinet and furniture corners, drilling and dowel work, and small welding squaring tasks. The rotating handle is the detail you notice most once you start – it removes the constant re-orientation that makes corner clamping tedious with a fixed handle.
Because they are light, one person can hold the whole assembly together and get a tack started, which is a real help if you are working alone.
When to skip them
Two hard limits. The clamping range tops out at about 2.75 inches, so larger box material will not fit, and the 1.38 inch jaw depth is shallow, so it will not square up thick or heavy material. If your project is heavy steel box tube, this is the wrong tool class.
Aluminum is also less rigid than steel under heavy clamping force, and a minority of users report needing small alignment tweaks to hold a perfect angle under load. Check squareness with a straightedge before you tack, every time.
6. POWERTEC 500 lb Toggle Clamp 4-Pack – Best for Jigs and Fixtures
POWERTEC 4PK Toggle Clamp, 500 lbs Holding Capacity, 225D Quick Release Horizontal Clamps w/ Antislip Rubber Pressure Tip for Woodworking Jigs and Fixtures, Welding, Drill Press, Crosscut Sled (20326)
Cold-rolled carbon steel
500 lbs holding capacity
Rubber pressure tip
Base 1-3/8 by 1-1/2 inch
Pros
- Holds up to 500 lbs to keep material flat while welding
- Quick-release handle allows repositioning without unbolting
- Low-profile body clears the workpiece for access
- Anti-slip rubber tip grips without marring
- Four-pack suits a multi-station jig
Cons
- Must be permanently mounted to a jig or fixture
- Requires a bolt hole pattern rather than hand-held use
- Holding capacity is fixed once mounted
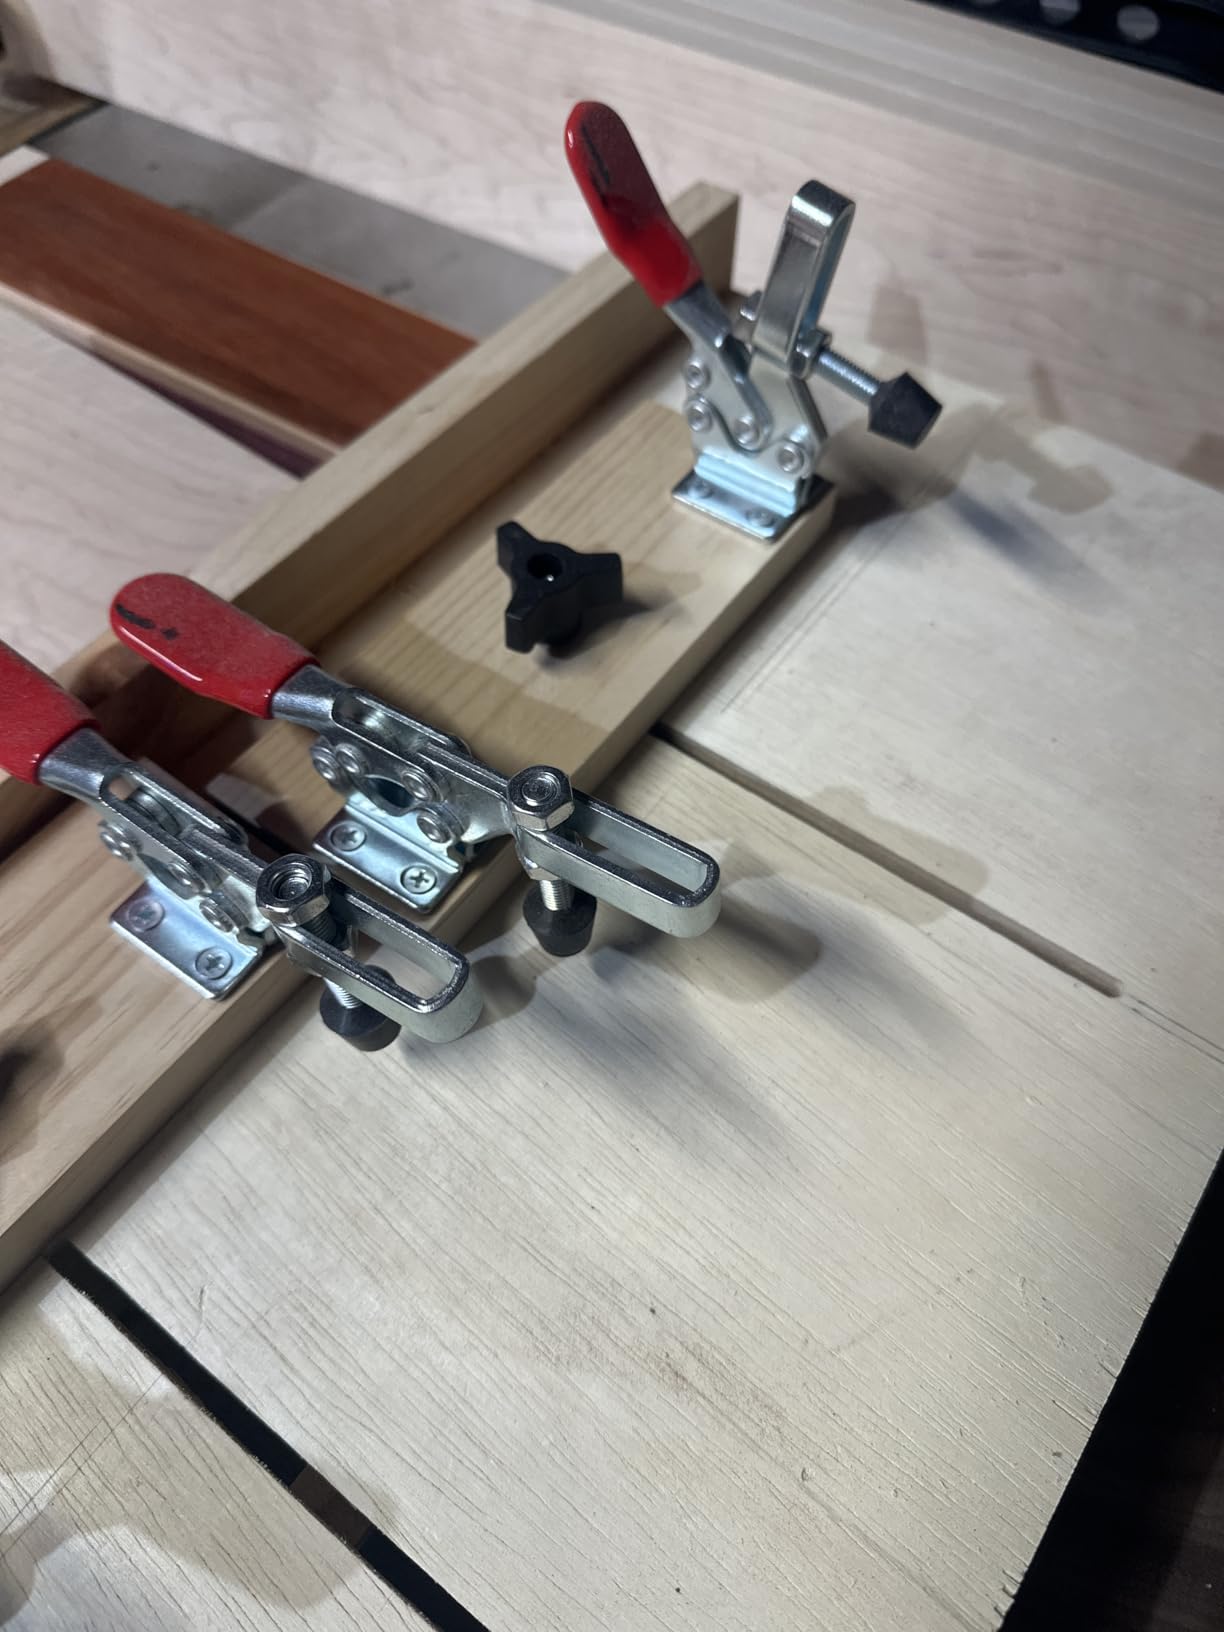
A toggle clamp is the upgrade you make when you move from holding parts by hand to holding them in a fixture. These bolt to wood or steel, lever over, and hold up to 500 lbs, so the part stays exactly where you put it through the entire weld.
That 500 lbs figure is the selling point. Hand clamps depend on your arm strength, and 500 lbs means the fixture holds far more than any beginner’s part can push against. The low-height carbon steel design also keeps the body clear of the workpiece so you can get a torch or filler rod into the joint.
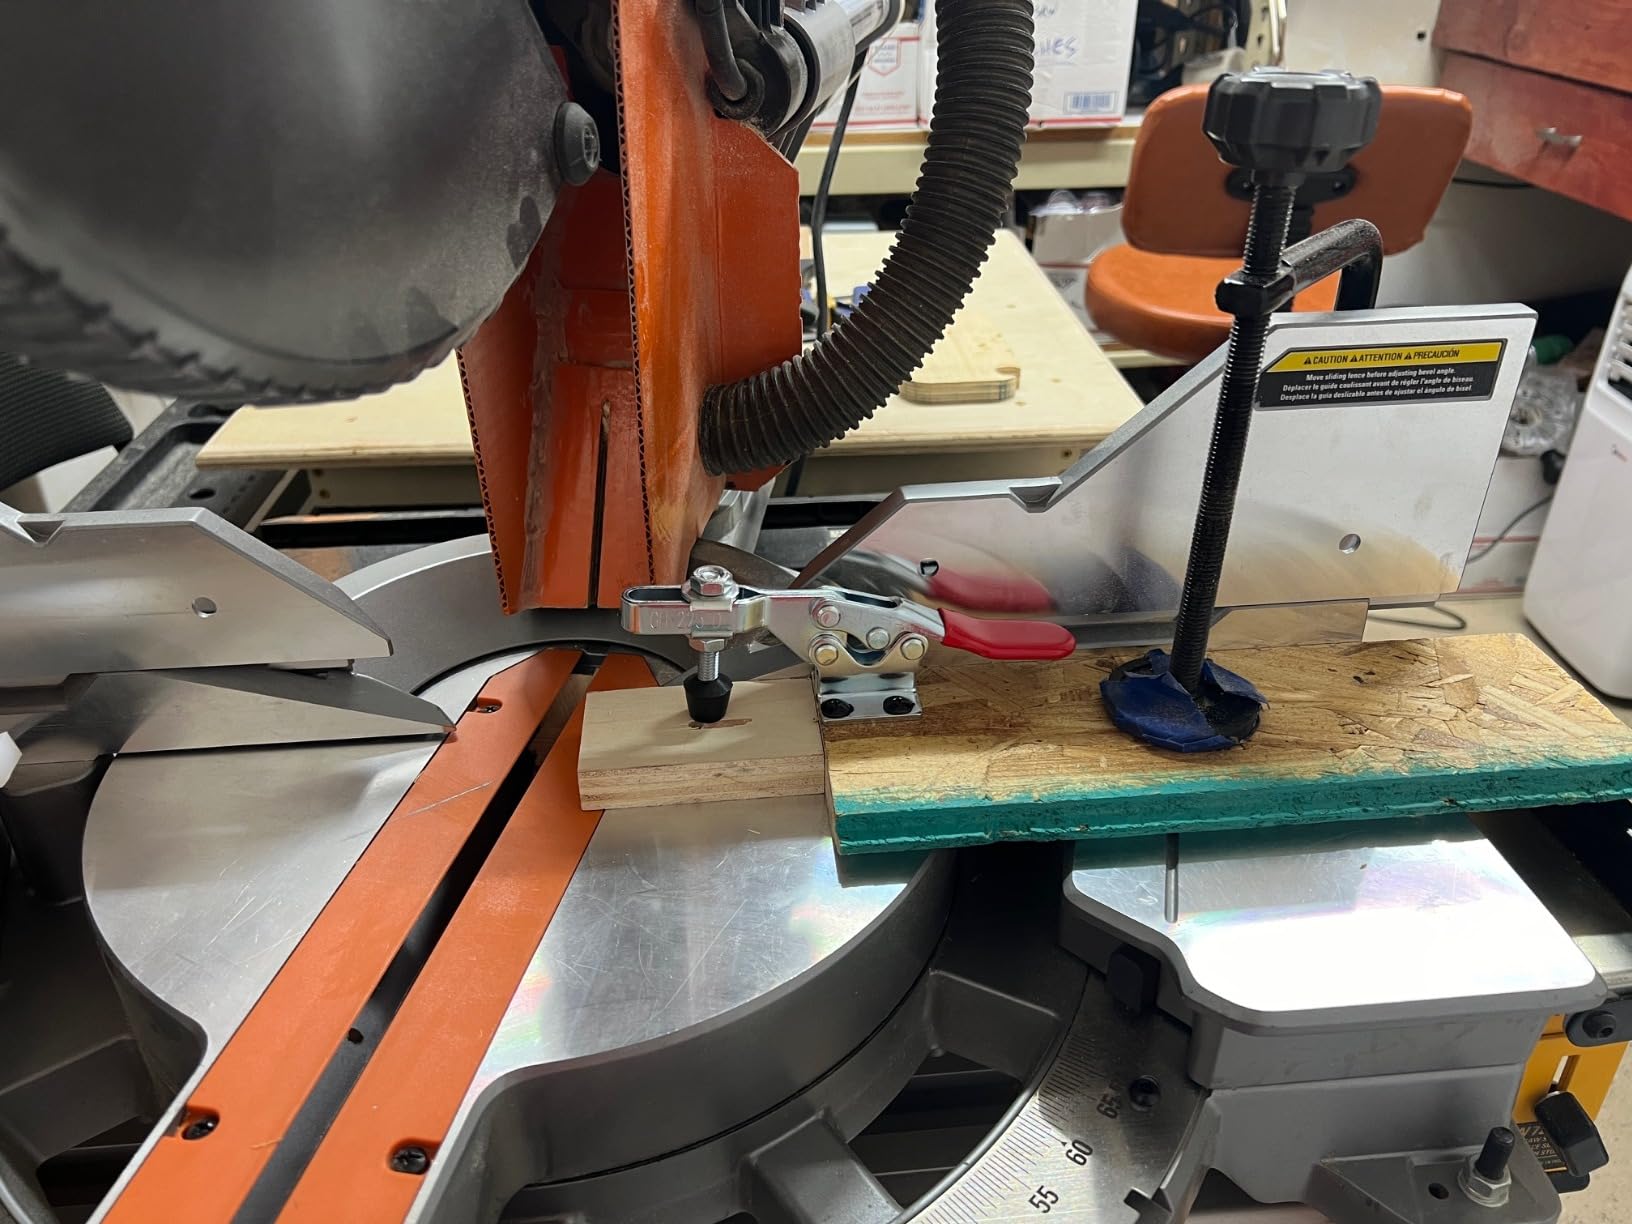
The anti-slip rubber pressure tip grips without marking the part, and the quick-release handle lets you reposition a piece without fully unbolting the clamp. The pressure adapter allows depth adjustment for clearance, and the base measures 1-3/8 by 1-1/2 inches with mounting slots 1/4 by 3/8 inches spaced 7/8 by 7/8 inches.
Owners bolt these into jigs, drill press fences, and crosscut sleds and rely on the rated hold to keep parts in place during welding. Four per pack is enough to build a station with several held points.
What these clamps are actually good at
Keeping sheet metal flat and in position while you weld it, and any repeated operation where the part must land in the same spot every time. Once a fixture exists, repeatability is what turns a project into a repeatable process, and that is where this clamp earns its keep.
They are equally useful outside welding – holding work in a drill press fence or a crosscut sled is the same principle, and owners use them that way regularly.
When to skip them
These are not hand-held clamps. They must be permanently mounted to a jig or fixture with the bolt pattern, so on their own they do nothing, and if your setup is still a folding table with no fixture, this is a purchase for later.
Holding capacity is fixed once mounted too, and the horizontal orientation means they suit flat and low-profile work rather than tall or vertical assemblies. Start with hand clamps, then add these when you build your first real jig.
7. Strong Hand Tools Grasshopper Magnetic Clamp – Best for Flat Tack Welds
Strong Hand Tools Grasshopper Magnetic Welding Finger, 35 lb Pull Force, Brass Contact Tip, Spring-Loaded Arm, V-Pad Base, Anti-Tipping Bolt, AGH230
Magnetic V-pad base, 35 lbs
Brass non-contaminating tip
Spring-loaded arm
Anti-tipping bolt
Pros
- Brass tip gives soft contact that will not contaminate the weld
- Magnetic base needs no fixturing or bolts
- Spring-loaded arm adjusts across material thickness
- Anti-tipping bolt stops it sliding mid-weld
- Point contact leaves clearance for torch and rod
Cons
- Only works on ferrous metal
- Less hold-down range than a screw or toggle clamp
- Single tool only - repeats need a second one
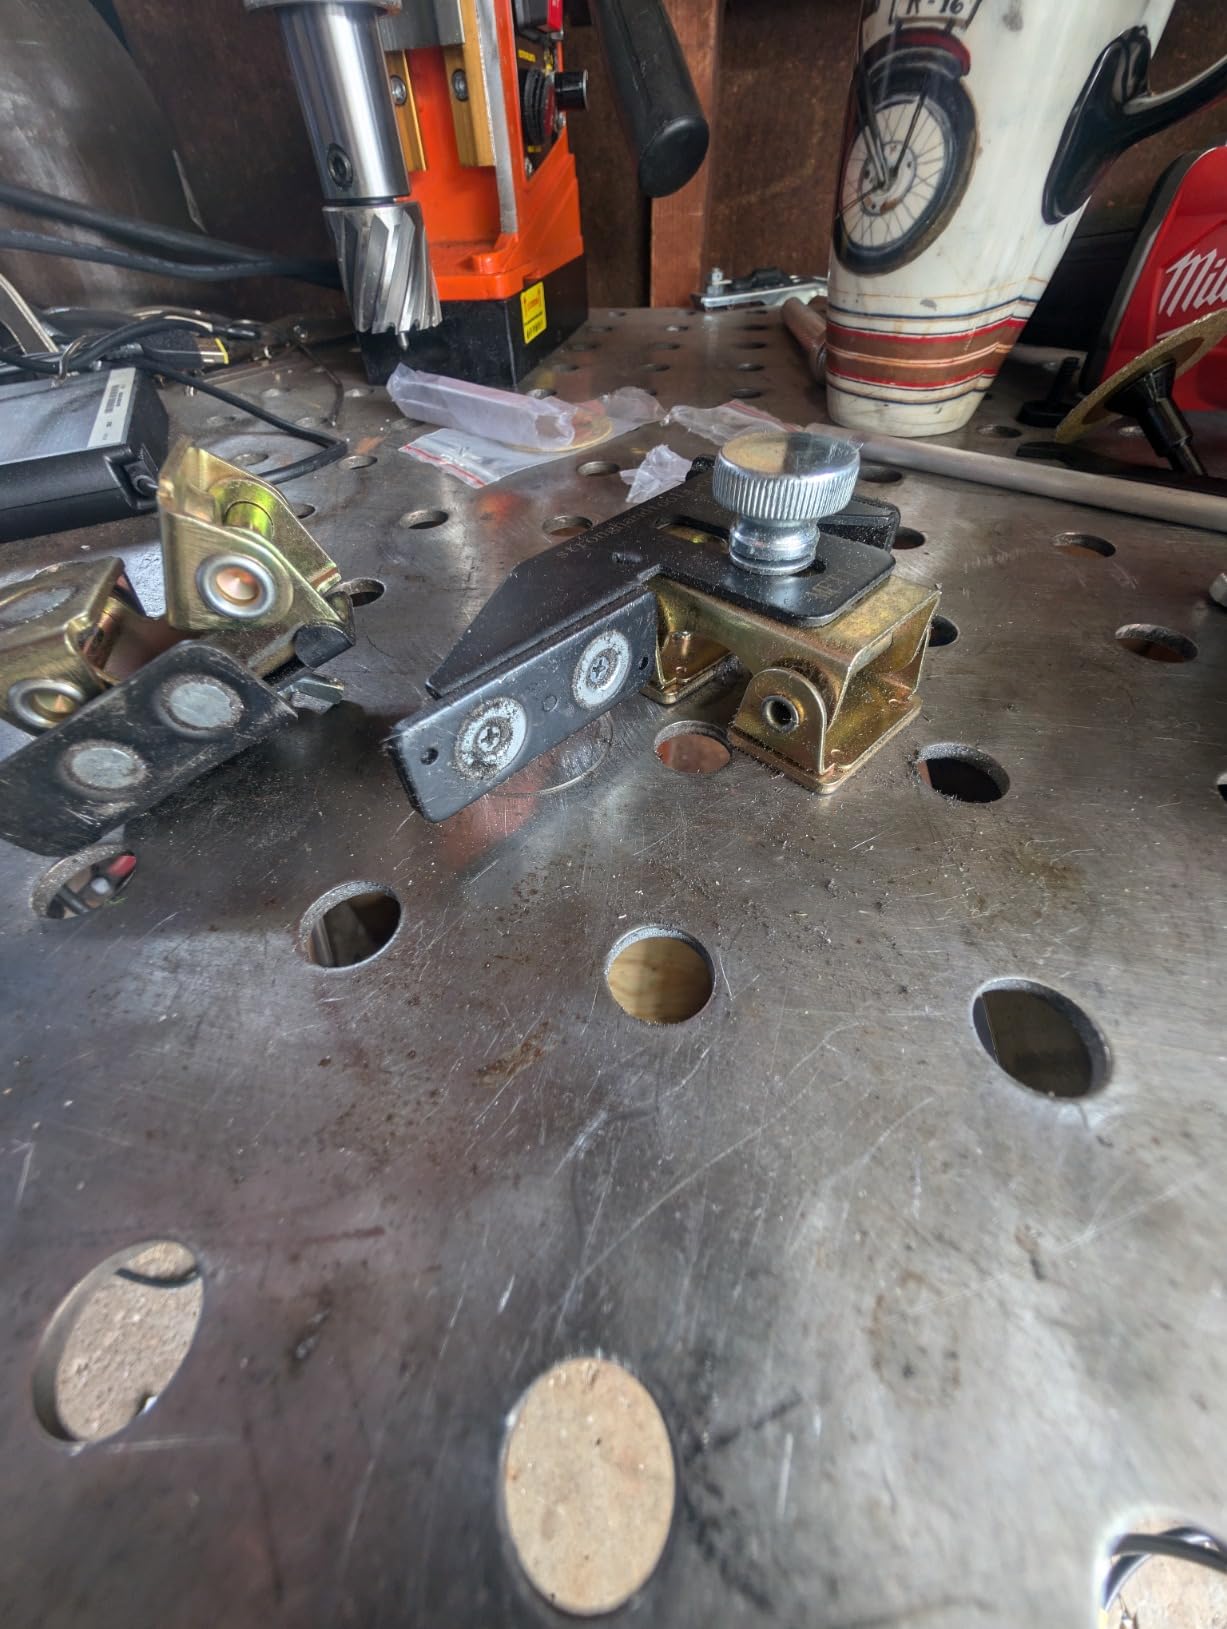
This clamp is the closest thing to an extra pair of hands that I have used. It sticks to a steel welding table or to the part itself, and the arm holds the work down while both of your hands stay free for the torch and the filler rod.
The brass tip is the detail that makes it a welding clamp rather than a general shop tool. Brass will not contaminate the weld area, and it is soft enough that it does not mar the surface, so you can clamp right next to a finished edge.
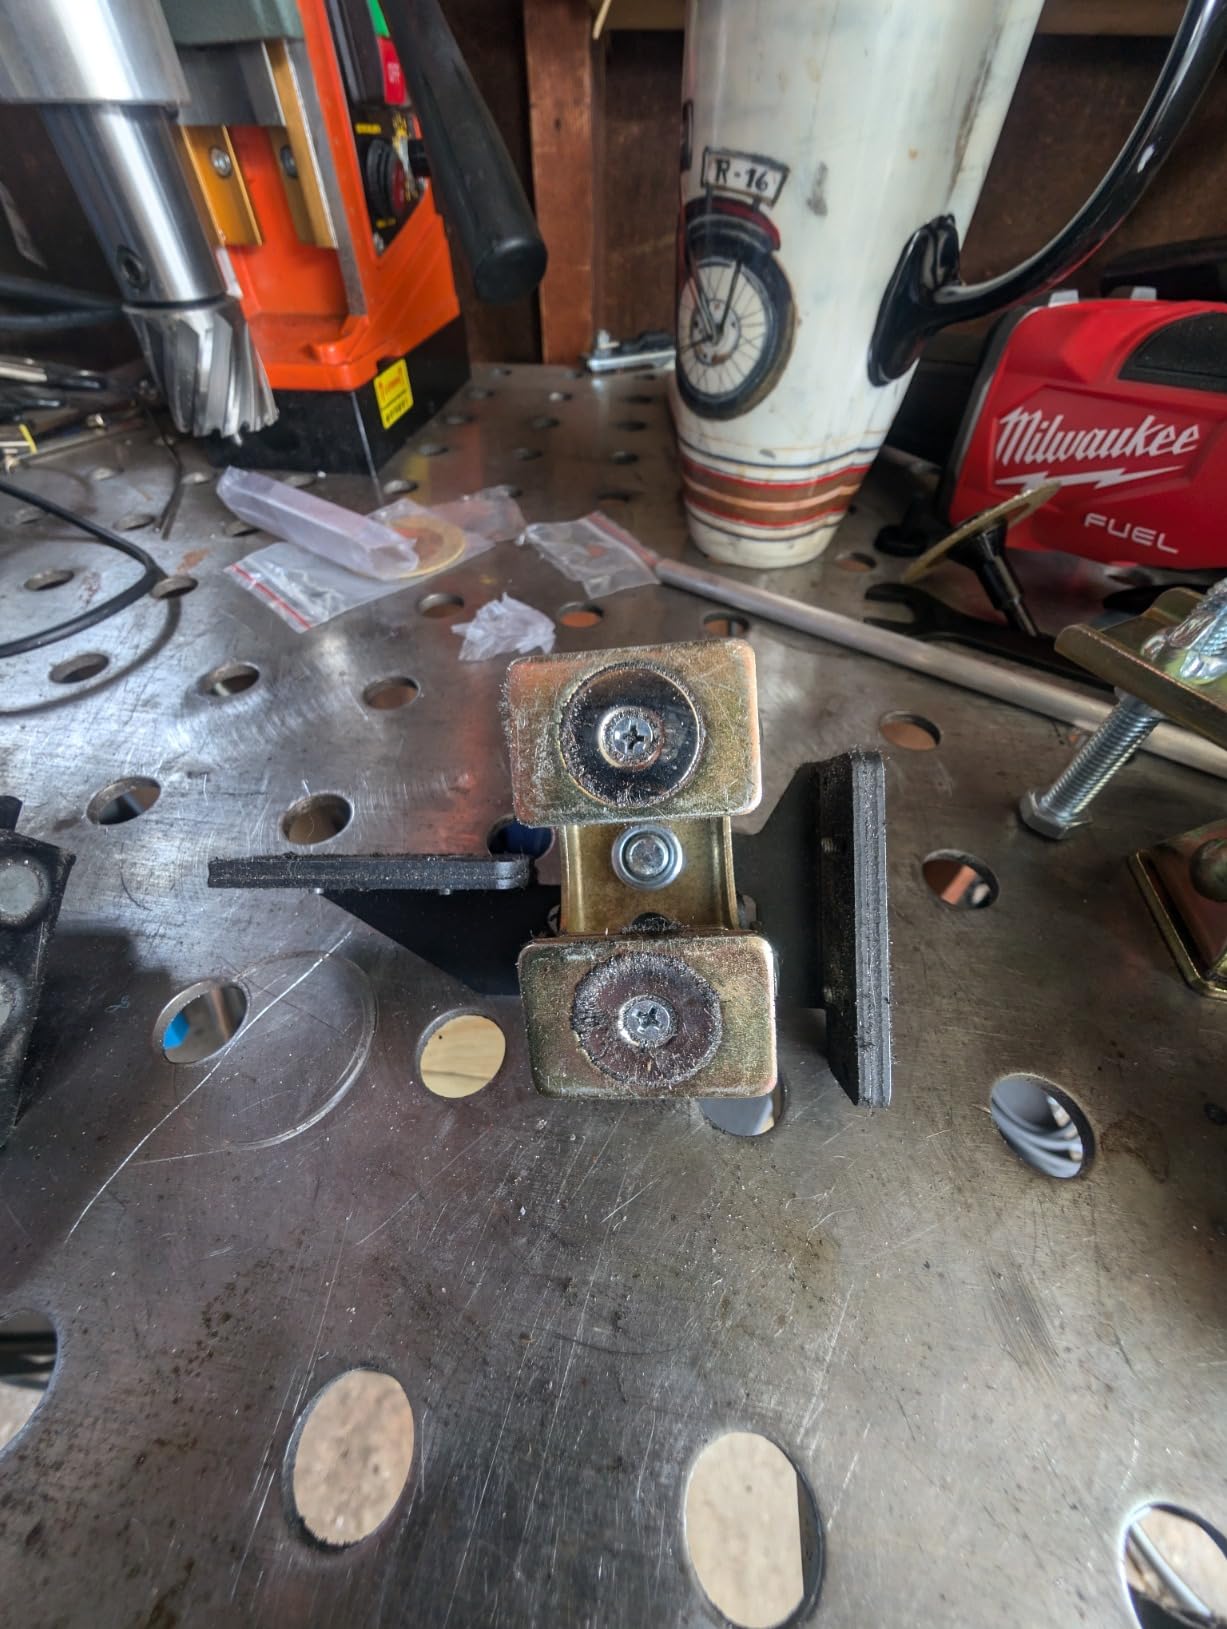
Maximum magnetic pull force is 35 lbs, and the spring-loaded arm self-adjusts across a range of thicknesses, so you slide the arm to set the hold-down force and it settles as the material thickness changes. The magnetic V-pad base anchors to a steel table or the workpiece, and the anti-tipping bolt prevents the tool from walking during a weld.
At about 15.9 ounces it is genuinely portable, and pinpoint holding means maximum clearance around the joint. Owners describe it as the tool that lets you tack a corner in seconds instead of fighting clamps and a square at the same time.
What these clamps are actually good at
Flat and stationary work – tack welds, holding two pieces together on a steel table, holding a small assembly while you check it. Because nothing is bolted down, set-up takes seconds, which is exactly what you want during fit-up rather than once you have started welding.
It is also the fastest way to hold a part for layout and marking. Point it at the spot, let it stick, and get on with the job.
When to skip them
35 lbs is modest compared with the 500 lb toggle clamp or the 1200 lb F-clamp set, and hold-down range is shorter than a screw or toggle clamp on thick material. If the workpiece weighs real mass, this is not enough.
It only works on ferrous metal, so aluminum, plastic, and wood are out. And you get one tool, so a joint needing two held points means buying a second. For most beginners, buying two and keeping them by the machine is the right move.
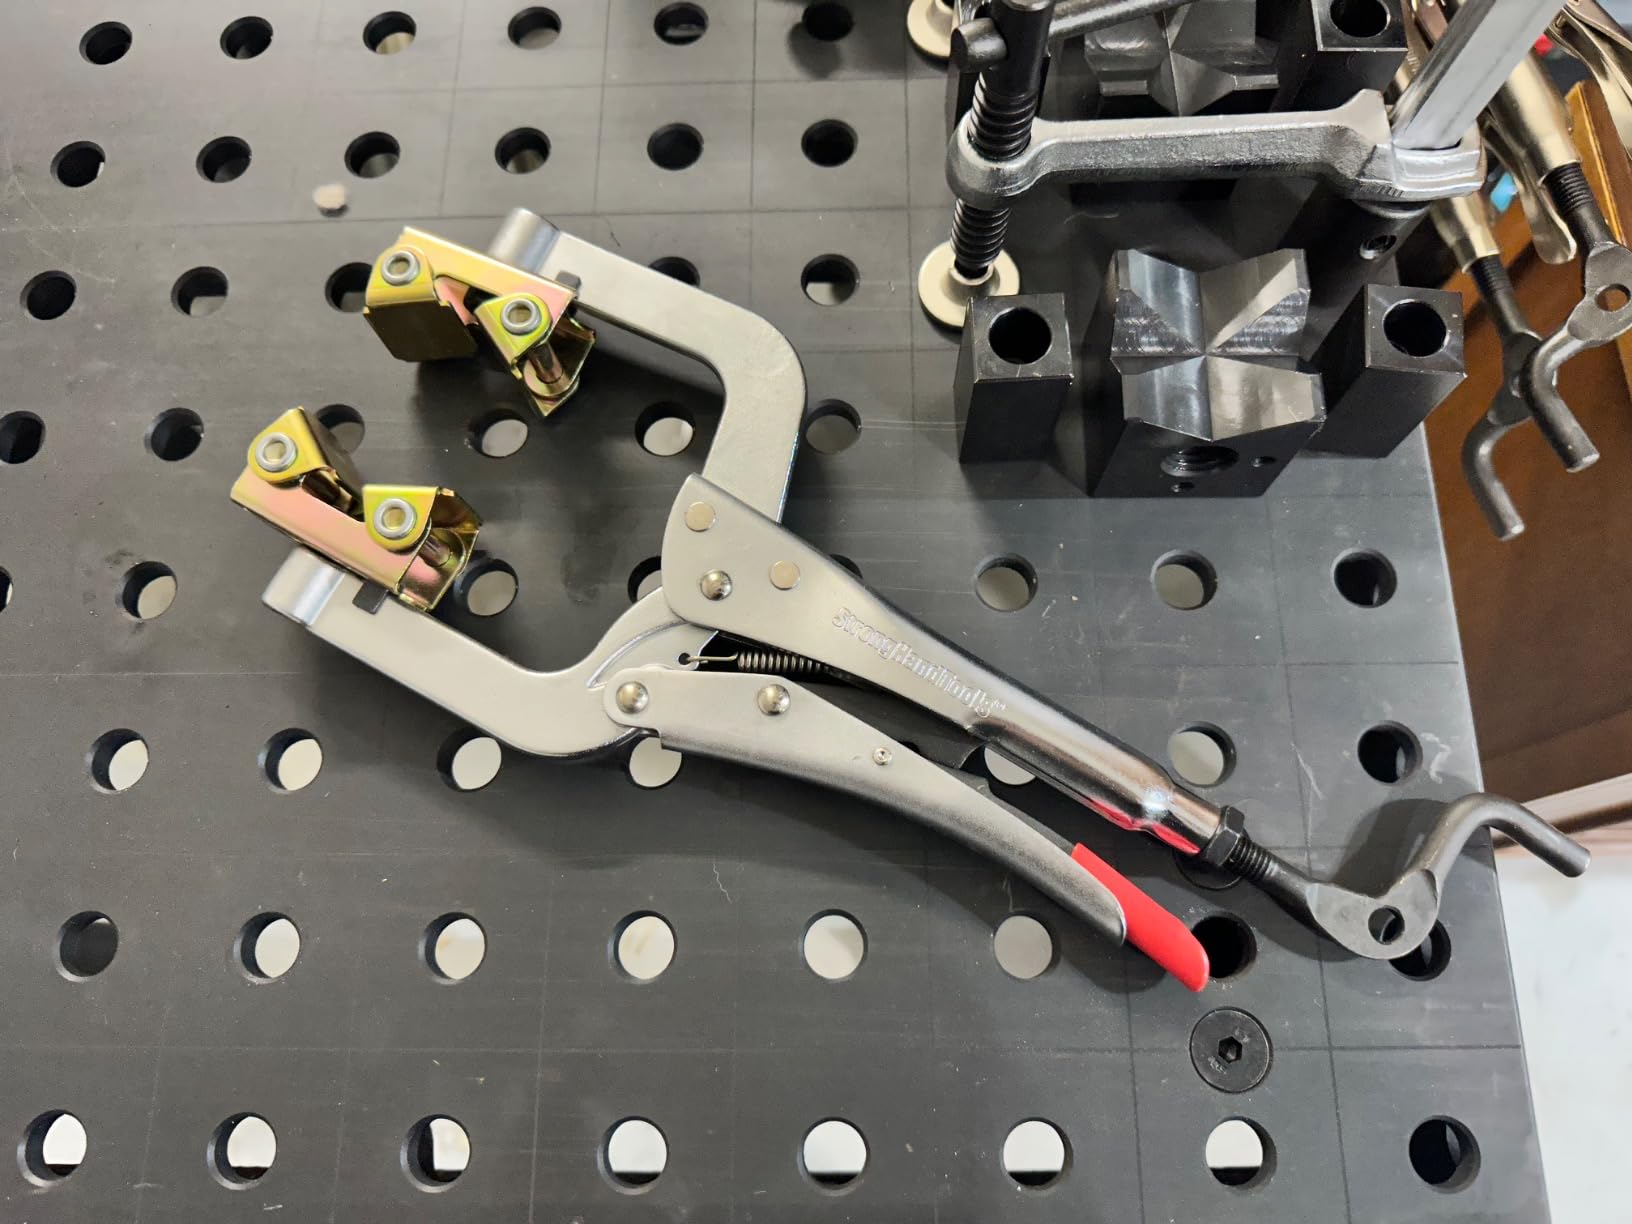
8. Strong Hand Tools PG114V Pipe Pliers Clamp – Best for Pipe and Round Tube
Strong Hand Tools 11″ Locking Pipe Pliers with Large V-Pads, 1-1/2″ to 2-1/2″ Capacity, 3-1/2″ Throat, Crank Handle, for Tube & Exhaust Welding, PG114V
Alloy steel, 11 inch overall
1-1/2 to 2-1/2 inch capacity
3-1/2 inch throat depth
Large V-pads
Pros
- Locks onto round material and holds without drift
- Larger V-pads grip without crushing or marking
- 3-1/2 inch throat reaches inside tight frame layouts
- Spindle adjustment covers a useful size range
- Swivel head works on irregular shapes
Cons
- Locking pressure feels softer than a Vise-Grip under heavy load
- No Allen key included for the swivel adjustment
- V-pads are not easily replaceable if damaged
Round tube and pipe do not sit flat, so a flat-faced clamp slides off them. This clamp uses large V-pads to grip round material, lock onto it, and hold it steady through the weld without crushing the tube wall.
Maximum clamping capacity runs from 1-1/2 to 2-1/2 inches, covered by an adjustable top spindle, so one tool covers a broad range of pipe sizes. The 3-1/2 inch throat depth is the spec that matters most in real frames, because it lets the jaw reach into a tight layout where a shallow clamp simply cannot fit.
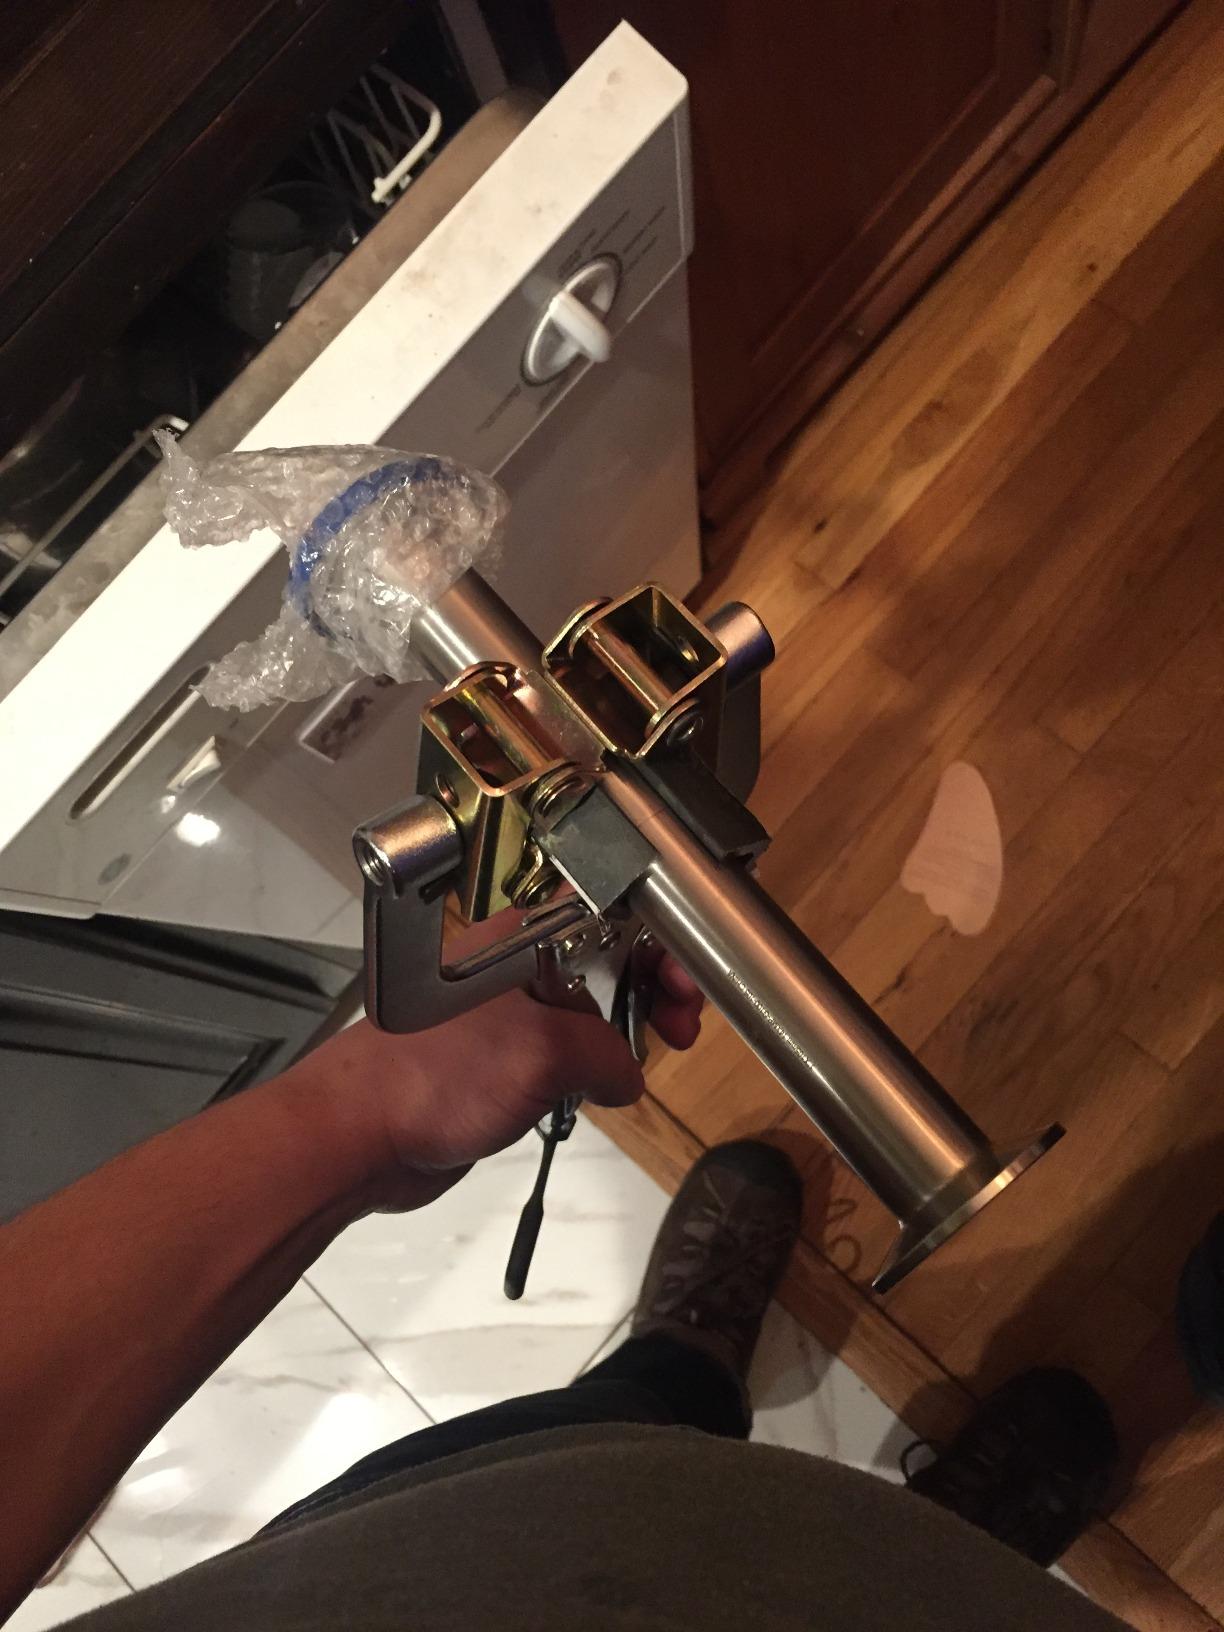
The body is alloy steel at 11 inches long and 2.5 inches wide, weighing about 16 ounces, with a swivel head that can be rotated to work on irregular shapes. Users favor it for exhaust and tube work where alignment precision decides whether the joint closes.
Reviewers point to strong holding and a heavy build, with a minority noting the lock-off is less positive than a Vise-Grip under heavy load. That is a fair trade for the grip on round material.
What these clamps are actually good at
Handrail frames, exhaust work, tube furniture, and any round material that has to stay put while you weld a fitting to it. The V-pads grip without marking the tube, which matters on visible pipework you cannot grind or paint over easily.
The deep throat is the practical advantage on a frame. In a tight assembly, a clamp with a short jaw cannot reach the joint, and this one does.
When to skip them
The locking pressure is softer than a Vise-Grip under heavy load, so if you are clamping thick, heavy pipe and need a rock-solid set, a locking C-clamp is firmer. The V-pads are also not easily replaceable once damaged, which is a real cost on a tool that sees a lot of metal.
It is also a bulky profile to hide on finished visible pipework, and no Allen key is included for adjusting the swivel head. Buy this when your project list has round tube in it, not before.
Which Type of Welding Clamp Do You Actually Need?
Most beginners buy the wrong clamp because they buy by brand instead of by joint. Work out what you are joining first, then pick the type built for that joint. Here is how the types map to real work.
For flat plate and edge joints, use a C-clamp or F-clamp. The fixed jaw and sliding arm hold two flat surfaces together while you tack. This is the bread-and-butter case and the one you will use most.
For square frames in box tube, use corner clamps. A corner clamp holds two members at a true 90 degrees so the frame is already square when you start. This is where most first projects go wrong without one.
For anything you must not release to reposition, use a locking clamp. The set-and-forget behavior means you check, measure, and move around the part without disturbing the joint.
For thin sheet material, use a sheet metal clamp or a mini bar clamp. Shallow, wide jaws and non-marring pads grip thin material without denting it or pushing it out of shape.
For quick flat hold-down on a steel table, use a magnetic clamp. No screws, no bolting, and both hands stay free.
For repeating the same weld over and over, use toggle clamps mounted in a jig. Rated holding capacity, zero arm fatigue, and the part lands in the same place every time.
For round tube and pipe, use a V-pad clamp. Flat jaws slide off round material; V-pads grip it.
And to close the loop on the confusion we flagged earlier: a workpiece clamp holds your metal in position, while a ground clamp attaches to the part to complete the electrical circuit for the welding process. If you are searching for a ground clamp, that is a different purchase entirely, and forum regulars name Jackson and Tweco/Lenco copper clamps most often as trusted options.
How to Choose: Throat Depth, Jaw Opening, and Clamping Force
Throat depth is the number to check first. It is how far the jaw reaches past the frame of the clamp, and if the joint sits deeper than the throat, the clamp physically cannot reach it. For box tube, the rule is simple: the deeper and further back your joint sits, the more throat you need. Practitioners asking for more capacity almost always mean more throat, not more force.
Jaw opening is how wide a gap the clamp can close. The 11-inch locking C-clamp handles a 4 inch jaw opening with 3-3/8 inch jaw capacity, which covers most flat and round material a beginner meets. The Amazon Basics face clamp reaches 3 inches wide and handles material up to 2-3/4 inches thick.
Clamping force is how much the clamp pushes. More is not always better. The MAXPOWER large clamps reach 1200 lbs, the toggle clamps hold 500 lbs, the mini bar clamps deliver up to 150 lbs, and the magnetic clamp pulls 35 lbs. Thin sheet needs a light touch, because more force than the material can take just leaves a dent.
Material decides how long the clamp lasts. Alloy steel and drop-forged steel with heat-treated arms resist deformation under load. Cast iron is heavy and cheap but brittle. Aluminum is light and easy to reposition but flexes under heavy force. The black oxide spindle on the MAXPOWER set resists wear and rust, which matters in a damp garage.
Swivel pads and soft jaws prevent damage. A pivoting swivel pad centers on the workpiece and spreads the force, so the clamp does not dimple the metal. Non-marring pads go further and protect finished surfaces outright. If your project has a visible face, prioritize a clamp with a swivel or soft pad.
Adjustment mechanism decides how the clamp behaves. A turn screw gives you fine, continuous control and stays adjusted for repeat work. A trigger or ratchet gives you one-handed speed. A spring-loaded magnetic arm self-adjusts across a range of thicknesses. There is no best option, only the one that matches whether you are positioning carefully or moving fast.
Brand tiering is a rough guide, not a rule. IRWIN, Milwaukee, Lincoln Electric, Eastwood, and Hobart sit in the middle band where most beginners should look. Bessey, Strong Hand Tools, and Hoffmann are the professional tier, and their advantages show up in service life and precision rather than in first-project results. Budget clamps from Harbor Freight, Bremen, and generic sellers are fine for learning, as long as you understand they are consumables in practice.
Beginner Mistakes to Avoid With Welding Clamps
Over-tightening. More force than the joint needs bends thin material and makes the fit-up worse, not better. Tighten until the part stops moving, then stop.
Clamping thin material too hard. Light-gauge material dents under a heavy jaw. Use a clamp with soft or swivel pads and set a light pressure.
Ignoring throat depth. A clamp that barely reaches the joint makes you cheat the angle to make it fit. Measure your deepest joint and buy for that number.
Not checking squareness before tacking. A clamp holds what you give it, including a mistake. Check the diagonal measurements before the first tack, not after the weld solidifies.
Marking up a finished surface. Steel jaws on a visible face leave a dent you cannot remove. Use a padded or swivel-pad clamp, and place a scrap spacer between clamp and part when in doubt.
Leaving a clamp in the heat of the weld. Clamps conduct heat into the joint and can trap molten metal against the jaw. Never weld right over a clamp, and remove clamps from the immediate weld area.
Tack-welding a T joint loose and welding it out anyway. An unclamped, untacked T joint can shift as it heats, which gives you uneven penetration and a joint you cut out and redo.
What to Buy First and What to Add Later
If you are starting from an empty shop, buy in this order.
First: a set of one-handed F-style bar clamps. They handle the widest range of beginner joints, hold firmly, and leave your hands free. This is the core of the list.
Second: a locking C-clamp. Add this once you need to check alignment with both hands, or hold a part through a long seam without re-tightening.
Third: a corner clamp if you build frames. If your project list is box tube, gates, or tables, this prevents the distortion you cannot un-do later.
Fourth: a magnetic clamp for flat work. Cheap, fast, and the first thing you reach for during fit-up on a steel table.
Fifth: a sheet metal clamp when thin material enters the project. Until then, the mini bar clamps cover it.
Later: toggle clamps and a pipe clamp. These need a jig to be useful, and a beginner rarely has one in year one.
What not to buy yet: welding positioners, high-capacity table clamps, and pipe clamps before you have round tube on the project list. They are good tools, and they will sit in the corner until you have the setup to use them. A magnetic clamp, a bar clamp set, and a locking C-clamp cover the large majority of a first year of welding.
One more safety note, since it comes up in every forum thread about clamps: a workpiece clamp and a ground clamp are different tools, and a clamp left in the arc path is a burn and spatter hazard. Set your clamps, verify the fit-up, and get your hands clear before you strike an arc.
Frequently Asked Questions
What are the different types of welding clamps?
The main types are C-clamps, F-style bar clamps, locking clamps, corner clamps, sheet metal clamps, magnetic clamps, and toggle clamps. C-clamps and F-clamps hold flat plate and edge joints. Locking clamps hold their setting until you release the trigger. Corner clamps hold two members at a true 90 degrees. Sheet metal clamps grip thin material without denting it. Magnetic clamps stick to a steel table, and toggle clamps bolt to a jig for repeatable work.
How many welding clamps should a beginner buy?
Three to four clamps is enough for most beginners, because one clamp holds one location and a square frame needs four corners held at once. Start with a multi-size F-style clamp set, add a locking C-clamp, and add a corner clamp if you build frames. That covers the large majority of first-year welding work.
What size welding clamp do I need for 1 inch box tube?
For 1 inch box tube, look for at least 2 inches of throat depth so the jaw can reach the joint, and pick a jaw opening wide enough to clear the material. Larger box tube needs proportionally more throat, and heavy structural work needs a steel clamp with more clamping force rather than a light-duty one.
What is the difference between a workpiece clamp and a ground clamp?
A workpiece clamp holds your metal in position and aligned while you weld it. A ground clamp attaches to the part to complete the electrical circuit for the welding process. They serve completely different purposes, and every clamp in this roundup is a workpiece clamp. If you are looking for a ground clamp, search for that specifically.
Can you weld with a clamp still in place?
You should not weld directly over a clamp. Metal clamps conduct heat into the joint and can trap molten metal against the jaw, which damages the clamp and the workpiece. Place clamps close to the joint but clear of the arc and puddle, and never let the weld pool touch the clamp.
Why does my clamp leave marks on the metal?
Hard steel jaws concentrate pressure on a small area, which dents soft or thin material, and a swivel pad that is not pivoting can rock into a single point. Use clamps with non-marring or soft pads, or place a scrap spacer between the jaw and your part, and set only enough pressure to stop movement.
Start Here
If you read nothing else, start with the IRWIN Quick-Grip 4-Pack. It is the best welding clamp for beginners because it does the widest range of jobs, holds up to 150 lbs of clamping pressure, leaves no marks, and frees your other hand the entire time you weld. Pair it with the IRWIN Vise-Grip locking C-clamp for long seams and a corner clamp for frames, and you have covered almost everything a first year of welding asks for.
Add the magnetic clamp when you are doing flat tack welds on a steel table, and save the toggle clamps and pipe clamp until you have a real jig and round tube on your project list. That is a measured start rather than a spending spree, and it is the approach that keeps a beginner welding instead of collecting clamps.
Stay safe in the shop with the rest of our coverage: our leather welding jacket guide rounds out the protective gear that goes with a good set of clamps.