
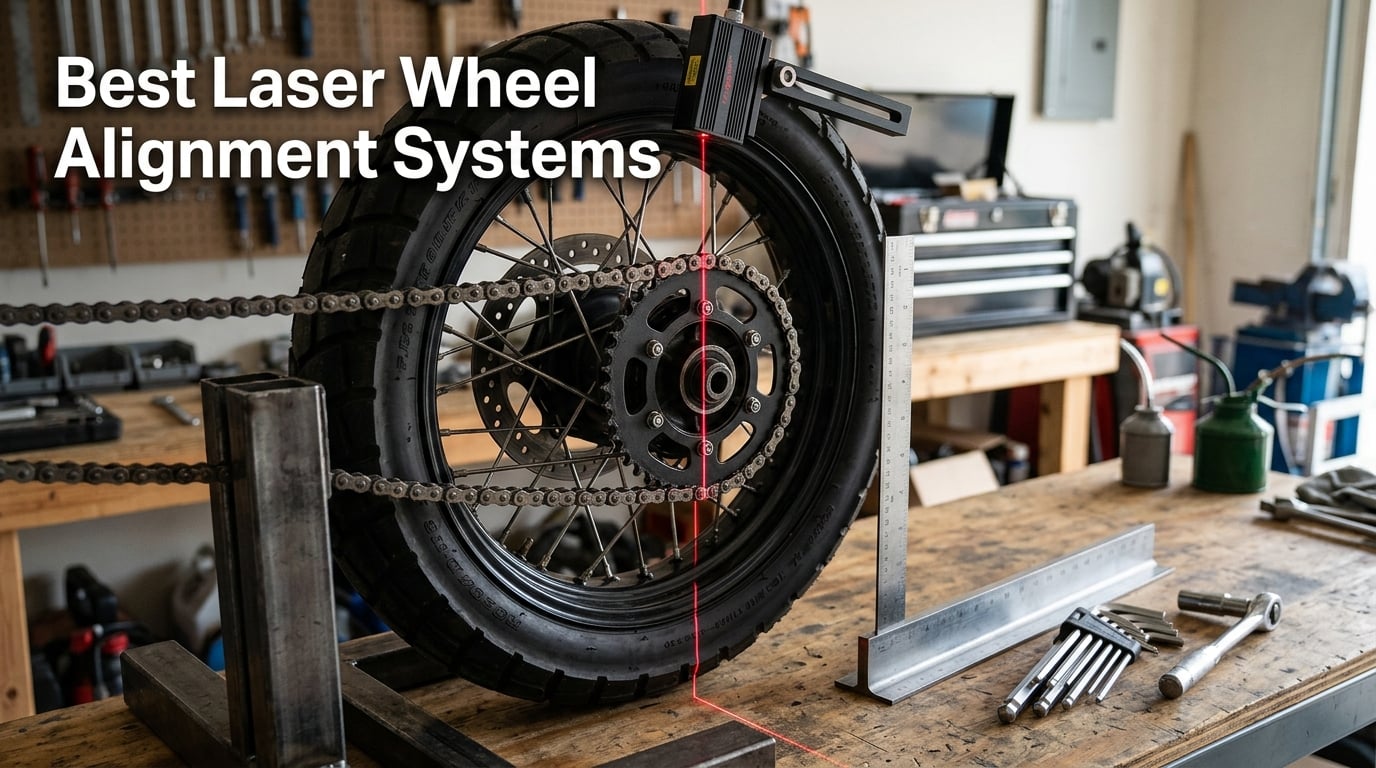
Short answer: the Tru-Tension Mega Tool Bundle is the best laser wheel alignment system in this group, because it is the only one with a large body of real owner feedback behind it and because it pairs the laser with a working chain tensioner instead of a stand-alone gimmick. If your work is belts and pulleys rather than chains, the Kylazer magnetic-base tool is the better buy. If you want a bench setup for wheel balancing, read the Laser 8236 section carefully, because its review history is thin.
Before anything else, a scope note that most roundups on this topic skip. None of the systems below is a full car wheel alignment machine. A real alignment rack reads camber, caster, toe and thrust angle from clamped sensor heads and compares them against a vehicle spec sheet, and that is a different category of equipment at a different budget. What we ranked here are laser alignment tools: rigs that project or receive a laser line across a drive-train component so you can line up a chain, sprocket, belt or pulley, plus one bench wheel balancer and one reflective target board used during ADAS setup.
We rated all six on what actually matters when a chain is throwing: whether the beam is bright enough to see in a shaded garage, whether the tool stays put on a greasy sprocket, whether calibration survives being carried across a workshop, and whether owners report fitment problems on real hardware. For the wider picture of line-and-level tools in the garage, our guide to laser rangefinders for construction covers the same technology from a different angle.
Every rating and review count here is copied from the product listing exactly as it stood when we pulled the data, including the awkward ones. Two tools have fewer than ten reviews, and we say so rather than dressing them up.
Table of Contents
Our Top 3 Laser Alignment Picks

Tru-Tension Mega Tool Bundle
- Chain tensioner plus laser
- Projects down the chain centreline
- Fully adjustable for most chain sizes

Gearhead Zone Chain Aligner
- CNC-machined aluminum body
- Certified within 1mm over 1 meter
- Bright visible beam
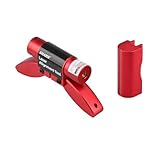
Kylazer Laser Pulley Tool
- Magnetic feet on tool and base
- Factory-calibrated laser
- Purpose-built for belt and pulley work
Every Laser Alignment Tool We Reviewed in 2026
Six tools made the cut after we discarded anything that could not project or receive a line under working conditions. The table below is the whole lineup, and the sections that follow explain why each one sits where it does.
| Product | Specifications | Action |
|---|---|---|
| Tru-Tension Mega Tool Bundle |
|
Check Latest Price |
| Gearhead Zone Chain and Sprocket Alignment Tool |
|
Check Latest Price |
 Laser 8236 Motorcycle Wheel Balancer and Alignment Stand Laser 8236 Motorcycle Wheel Balancer and Alignment Stand |
|
Check Latest Price |
 DOXOI Laser Chain and Sprocket Aligner DOXOI Laser Chain and Sprocket Aligner |
|
Check Latest Price |
| Kylazer Laser Belt and Pulley Alignment Tool |
|
Check Latest Price |
 HUPILAN ADAS Radar Reflective Board HUPILAN ADAS Radar Reflective Board |
|
Check Latest Price |
1. Tru-Tension Mega Tool Bundle: Tensioner and Laser in One
Tru-Tension | Motorcycle Mega Tool Bundle | Chain Monkey & Laser Monkey | Wheel Alignment Kit
Chain tensioner plus laser alignment tool
14.1 oz, 4.92 x 5.91 x 10.24 in
Pros
- Laser projects straight down the chain centreline
- Tensioner and laser in one bundle
- Fully adjustable for most chain sizes
- Works on road and off-road bikes
- Largest review base in the group at 298
Cons
- Laser module screws strip during battery changes
- One reported housing would not close squarely
- Clamp can foul some rear hub housings
- Predominantly plastic construction
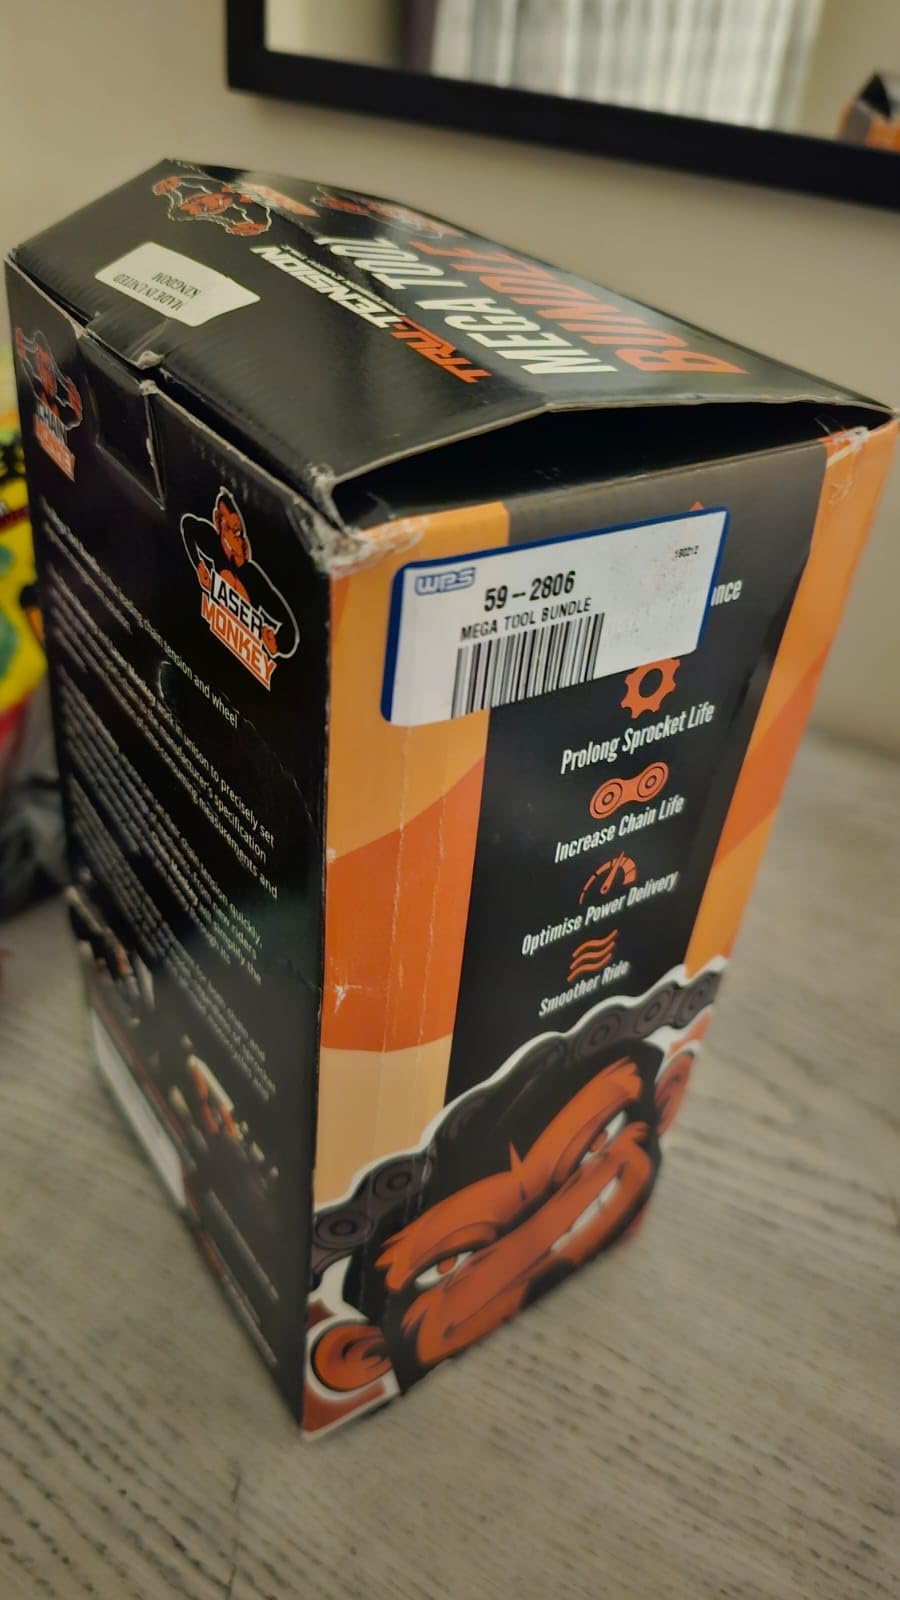
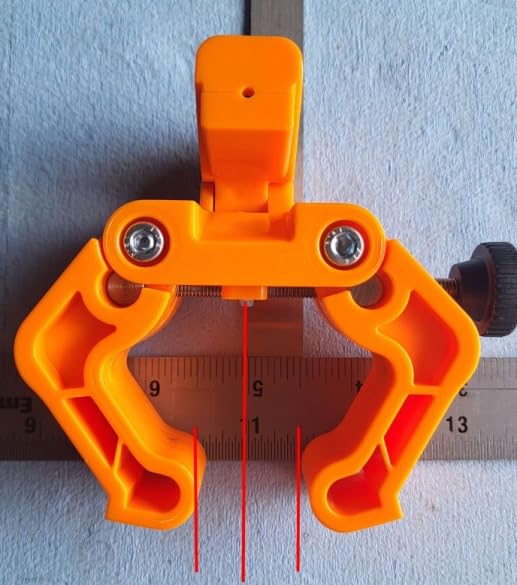
The Tru-Tension bundle does two jobs with one tool in the case. The chain tensioner is a fully adjustable arm that you dial against the manufacturer’s figure, and the laser module clamps to a sprocket or pulley and throws a line straight down the centre of the chain so you can see the deviation instead of guessing with a straightedge and a feeler gauge.
That combination is why it takes the top spot. Almost every rival on this list is a single-purpose laser. This one also gets the chain to the right tension before you align it, which is the step most home mechanics skip and then wonder why the alignment will not hold. Owners report that the tensioner repeats well once set, and that the laser does its job properly when you follow the manual and clear the chain guard first.
The build is the weak point, and it is a specific weakness rather than a general one. Reviewers report that the screws holding the laser module strip when you open it up for batteries, and at least one owner received a unit whose housing would not close evenly on the chain. If the laser sits slightly tilted inside its housing, the line it projects is slightly wrong, and a tilted laser is the one failure mode that makes a precision tool worse than nothing.
Fitment is also machine-specific. The clamp can foul the rear hub housing on some bikes, and on others the chain guard has to come off before the laser can read the chain line. Both are two-minute jobs on a bike you own. Neither is a two-minute job if you are doing a quick check with the guard still fitted.
Who This Tool Works Best For
It suits riders who do their own chain work on a bike with a conventional chain and swingarm, and who want tension and alignment resolved in the same session rather than with two tools. At 14.1 ounces and under 11 inches in its longest dimension, it lives in a tool bag rather than on a bench. The 298 reviews give it the widest range of real-world fitment reports of anything we ranked, which is exactly what you want when a clamp has to clear a variety of hub designs.
Where It Falls Short
It is not a camber or toe tool in any sense, and it tells you nothing about wheel geometry. The soft screws on the laser module are a genuine durability complaint, and on a bike where the laser gets repositioned repeatedly during adjustment, those screws see a lot of handling. If your build is a wide-horsepower race bike with a very tight guard, the CNC alternative below will serve you better.
2. Gearhead Zone Chain and Sprocket Alignment Tool: The Machined One
Chain & Sprocket Alignment Tool – Laser Application
CNC-machined aluminum body
Certified within 1mm over 1 meter
7.8 oz with spare batteries included
Pros
- Bright clearly visible laser line
- Anodized CNC aluminum resists scratching
- Replaces slow caliper checks with a fast visual
- Spare set of LR44 batteries in the box
- Seats on aftermarket sprockets other tools miss
Cons
- Bulkier than competing tools and can clash with chain guards
- May need the rear wheel removed for guard clearance
- Sprocket safety bracket can interfere
The Gearhead Zone tool is the one we would hand to someone who measures their work. The body is machined from aluminum on five axes and anodized black, and the manufacturer certified the laser centreline and the clamp leg as coplanar to within 1mm over a 1 meter span. That is a published number, and it is rare in this category.
Most competing tools here carry no accuracy figure at all. When a tool claims precision and shows no tolerance, the only way to find out is to test it against something you already trust. This one removes the problem. In practice owners describe the beam as bright and easy to line up against the chain run, which turns alignment from a slow caliper measurement into a five-second visual check you can repeat as you turn the adjuster.
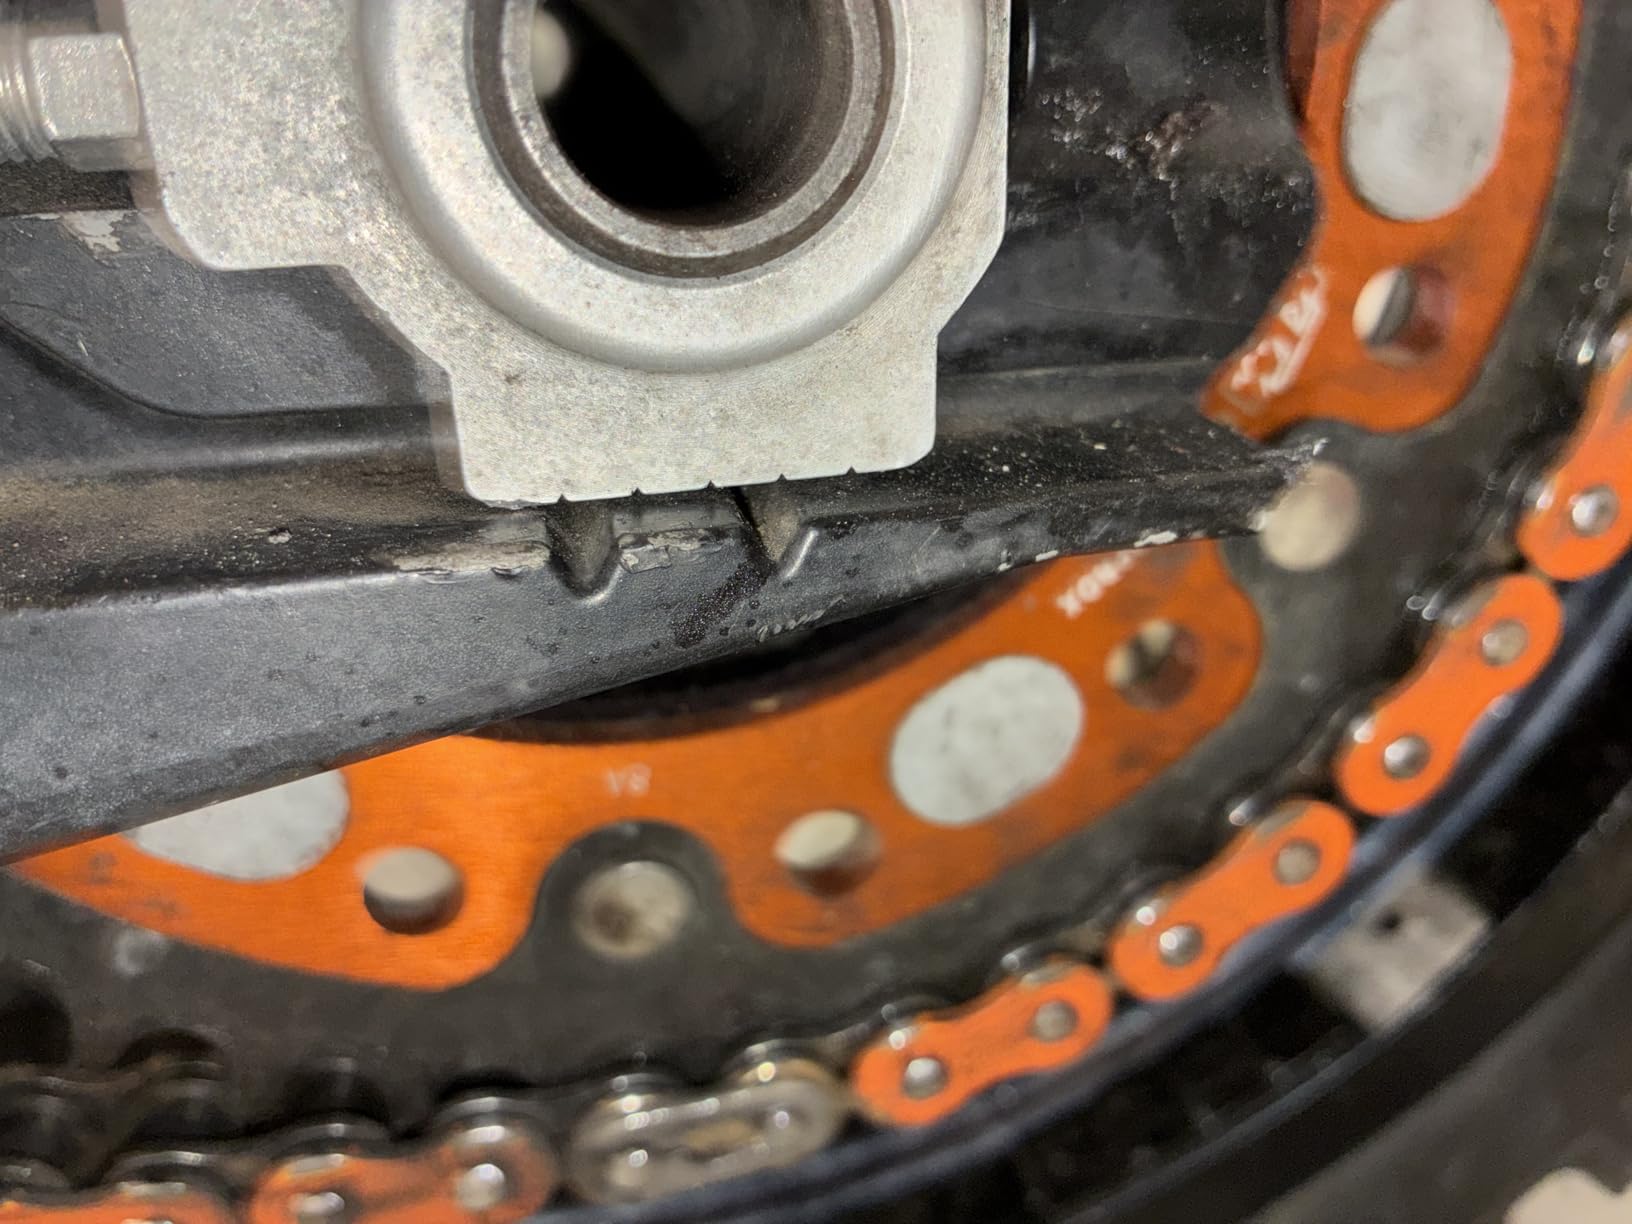
The trade-off is size and clearance. At 7.8 ounces it is not heavy, but the machined body is bulkier than the stamped-steel competitors, and on bikes with a close-fitting chain guard it either fouls or requires the guard to come off. Some owners also report the rear sprocket safety bracket sitting in the way, with a straightedge used as a workaround. None of these are deal-breakers, but all three are annoying at the roadside.
The anodizing earns its place in daily use. A tool that gets thrown in a top box, dropped on gravel and wiped with an oily rag every few weeks will scar quickly in bare steel, and a scarred reference face changes your reading. The review base here is 106, mostly positive, with the negative comments concentrated almost entirely on bulk and clearance rather than build quality.
Who This Tool Works Best For
It fits riders who want a repeatable answer instead of an opinion, and whose bike has clearance for a machined body. The coplanar laser-to-clamp relationship matters most when you are aligning an aftermarket sprocket, where chain offset errors run large and a quick visual check saves a second trip to the shop. At 4.4 stars across 106 reviews, it is the strongest-rated tool here with a meaningful volume of feedback behind it.
Where It Falls Short
It solves a narrower problem than the Tru-Tension bundle. There is no tensioner in the box, so the chain still has to be set correctly by whatever means you prefer before alignment is worth doing. On bikes where the rear wheel has to come off to clear the guard, it stops being a roadside tool and becomes a workshop tool.
3. Laser 8236 Motorcycle Wheel Balancer and Alignment Stand: Bench Work
Laser 8236 Motorcycle Wheel Balancer & Alignment Stand
Bench-top balancing and rim check stand
9.5 lb, 17.99 x 14.68 x 4.13 in
Road and off-road wheels
Pros
- Wheel comes off the bike for balancing
- Handles road and off-road wheels
- Bench format suits repeated service work
Cons
- Adhesive weights and marking chalk not included
- Only three reviews recorded
- Result depends on manual technique
The Laser 8236 is not a laser in the way the other tools here are. It is a bench stand that holds a motorcycle wheel so you can spin it, watch for runout, and add adhesive weights by hand until it spins clean. We ranked it because rim alignment and wheel balancing are the two jobs riders most often do badly in the yard with the wheel still mounted.
Having the wheel off the bike and on a proper spindle changes the quality of work you can do. You can spin it repeatedly, watch the valve stem or a chalk mark, and add weight where it belongs, instead of judging a spinning wheel through a fork leg. The stand covers both road and off-road wheels, which matters because off-road rims are wider and need different shims.
We are rating this on thin evidence and we will not pretend otherwise. There are three reviews on the listing, all five star. A perfect score on a sample that size tells you almost nothing about long-term durability, and we have weighted it accordingly rather than putting it near the top on the strength of a number.
Who This Tool Works Best For
It suits a home workshop that already services its own wheels and wants a repeatable spot to do it. The 9.5-pound bench format stores against a wall and takes up a small footprint, which is more useful than it sounds if your garage space is doing double duty. It also pairs well with a chain alignment tool, since a wheel out of true will make any chain alignment drift as the wheel spins.
Where It Falls Short
Two things the workflow expects are missing from the box: the adhesive wheel weights and the tyre marking chalk are sold separately. Budget for both before you start. And because the result depends on technique rather than instrumentation, this is a tool that rewards practice and frustrates beginners expecting the same kind of feedback a laser gives.
4. DOXOI Laser Chain and Sprocket Aligner: Factory Adjusted, Pocket Sized
DOXOI Laser Chain and Sprocket Aligner for Motorcycles, ATVs and Go-Karts
One-piece 6061 aluminum bracket
Class 3R laser below 5 mW
8 oz with calibration accessories
Pros
- Pre-adjusted before it leaves the factory
- Three screws for directional calibration
- Nylon-tip clamp protects sprocket faces
- Small enough for a toolbox
- Two calibration accessories included
Cons
- Only five reviews recorded
- Very new listing with little field history
- Built for motorcycles ATVs and karts rather than single-sprocket setups
The DOXOI is the cleanest design in the group and the easiest to justify on paper. The bracket is machined in one piece from 6061 aluminum with an electrophoretic coating, the laser module is held by three hex socket screws, and the laser head carries three adjustment screws so you can zero it against any straightedge. At 8 ounces it is the smallest tool we ranked.
The detail we like most is the factory pre-adjustment. Almost every cheap laser in this category arrives needing calibration, and calibrating a laser is the step people skip, which is how a precision tool quietly ends up lying to you. This one ships already zeroed, so the first job is a quick verification rather than a setup session. Reviewers who have checked it report confirming the calibration against a straight steel bar.
The nylon-tipped steel clamping screw is a small thing that tells you who designed it. Sprockets are the part you least want to mark up, and a knurled steel screw that bites a sprocket face will do exactly that on a bike you care about.
Who This Tool Works Best For
It suits anyone who wants a check that takes seconds and can be repeated after every chain adjustment. The routine is straightforward: clamp it to the rear sprocket, flick the side switch, and watch where the beam sits along the chain run. It also covers ATVs and go-karts, so if your powersports work spans more than one type of machine, that widens the use.
Where It Falls Short
Five reviews is not enough to bank on. The rating is excellent, but we would treat it as provisional until a few hundred owners have used it through a wet season. It also does not suit a bicycle with a single sprocket, where there is no second reference point to align against, and the small footprint means it is easy to lose in a busy workshop.
5. Kylaser Laser Belt and Pulley Alignment Tool: Magnets and Warranty
Laser Alignment Tool, Used to Measure and diagnose the Displacement of BDS
Magnetic feet on tool and base
Factory-calibrated laser
Two-year manufacturer warranty
Pros
- Magnetic base holds position firmly
- Bright visible beam in a dark garage
- Compact red housing is hard to lose
- Two-year manufacturer warranty
- Diagnoses belt and pulley misalignment quickly
Cons
- Will not seat in many pulley groove profiles
- Bungee cords supplied are poor quality
- Calibration with the supplied template is fiddly
- May arrive misaligned after transit
The Kylaser is the odd one out in this lineup because it has nothing to do with chains and everything to do with belts. Magnetic feet on both the laser unit and the base stick it to a pulley face or a belt run, and the beam gives you an instant read on whether two pulleys are actually in line. For a workshop running a press, a compressor, a mower deck or an industrial belt drive, that is the whole job.
Magnetic feet are the reason this works in practice. Every clamp-based competitor needs a flat edge to grip, and drive-train components rarely offer one. A magnetic base finds the pulley face and stays there hands-free, which means both of your hands are free to nudge the motor or the idler while you watch the line.
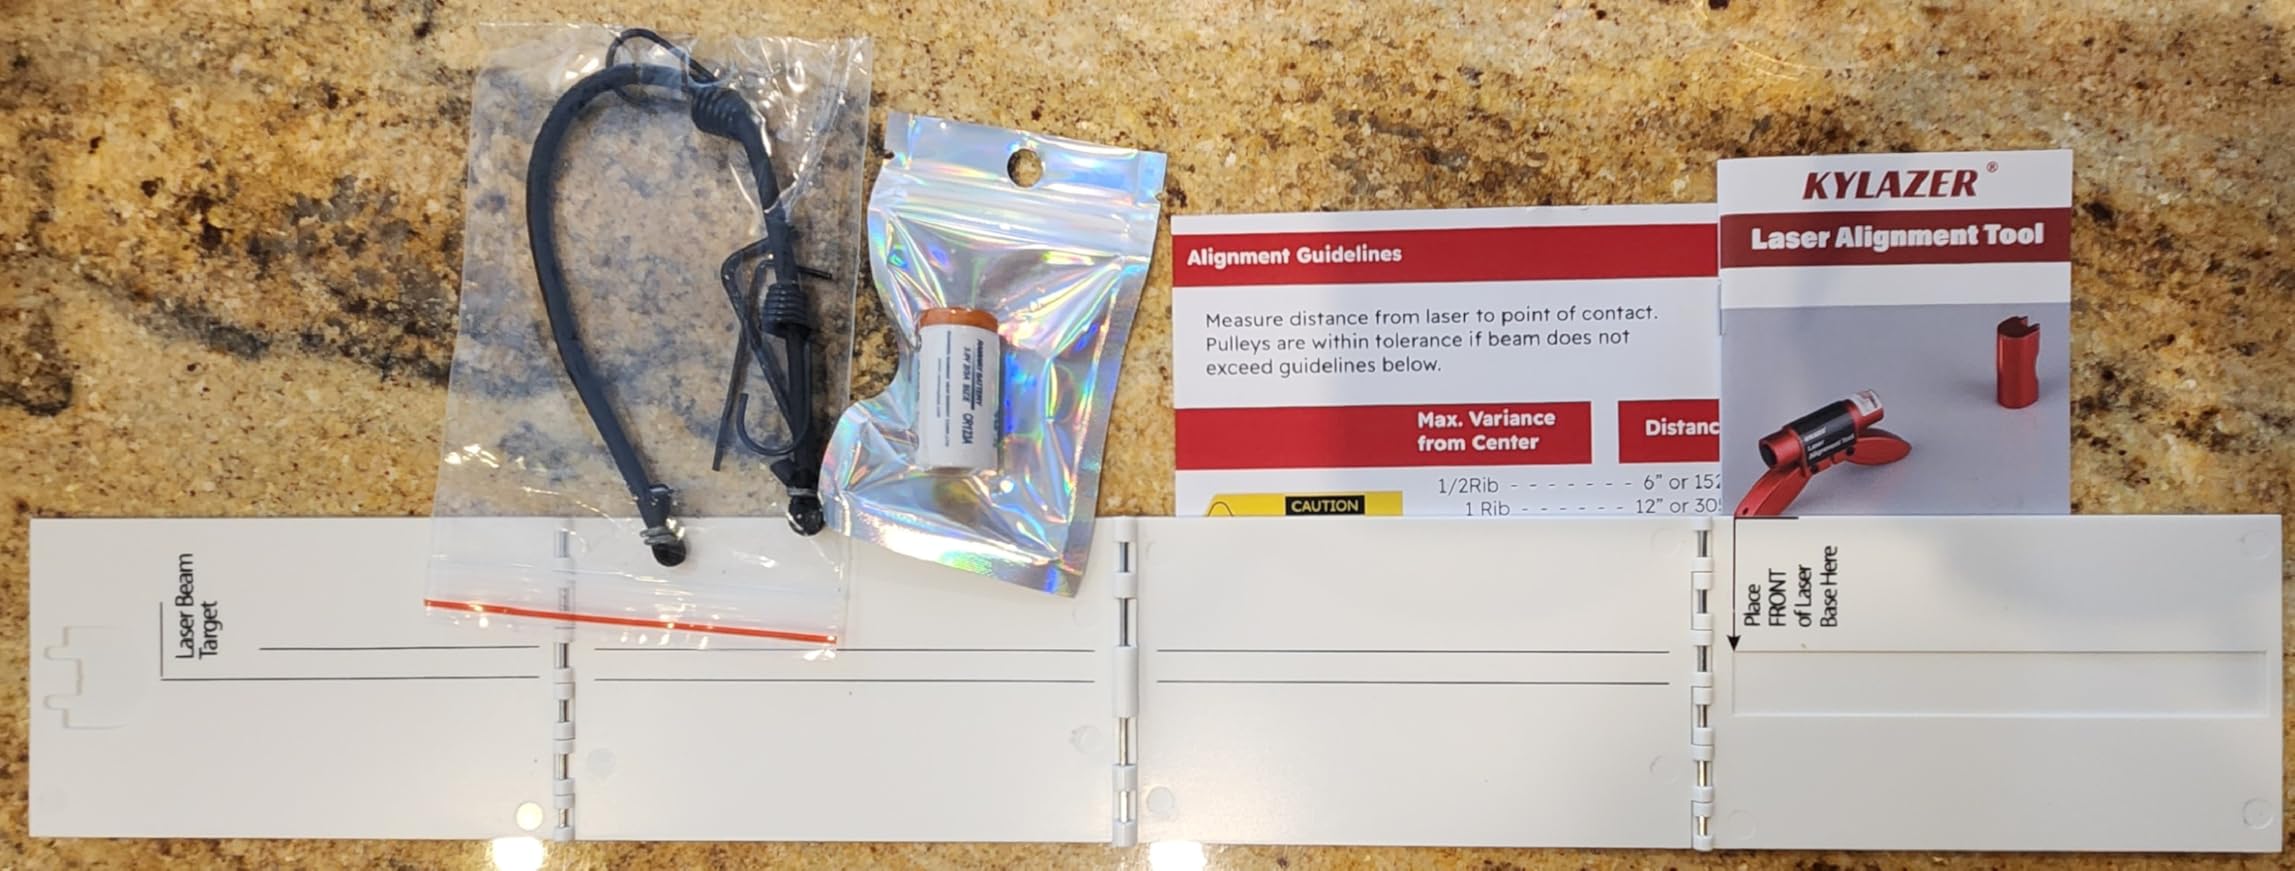
Two complaints recur. First, the magnets are strong but not universal: the tool will not seat into many narrow or unusual pulley groove profiles, so on some machines it simply will not attach. Second, the calibration routine using the supplied template is fiddly, and some owners report the laser arriving slightly off after transit despite factory calibration.
That second complaint has a fix that costs nothing. The trick shared by a GarageJournal user who owns an older light-based portable is to flip the heads to the opposite side and compare: if the reading matches in magnitude and reverses in direction, calibration holds. It takes a minute and it is the difference between measuring and guessing.
Who This Tool Works Best For
It suits a technician who diagnoses belt-driven equipment and wants a fast way to show where the misalignment is. A two-year manufacturer warranty is unusual in this category and tells you something about how the maker expects it to be used. The 0.36 kg body and the red housing make it practical to keep in a van rather than on a shelf.
Where It Falls Short
It will not help you with a chain, and it gives you no geometric angle. The included bungee cords are widely criticised as poor quality, so treat them as packing rather than part of the system. And on any machine with a narrow V-groove, check the fit before you rely on it, because that is where the magnetic base has nothing to grab.
6. HUPILAN ADAS Radar Reflective Board: Setup Aid, Not a System
ADAS Radar Reflective Board for Vehicle Centerline Alignment
Reflective target board for laser levels
5-line and 2-line radar reference
30-day warranty
Pros
- Makes a laser line far easier to see in a bay
- Works with any separate laser level
- Light board is quick to reposition
- Useful for vehicle centerline setup
Cons
- Requires a separate laser level to function
- Thirty-day warranty only
- Six reviews including one negative report
We are including the HUPILAN board because it is often mistaken for an alignment system, and telling you what it actually does saves you from buying the wrong thing. It is a reflective target board. You pair it with a laser level you already own, and it gives that level a bright surface to bounce off, which makes a fine line readable across a long bay and much easier to judge from a distance.
That matters most during ADAS setup, where a radar or camera sensor has to be referenced to the vehicle centreline before anything is calibrated. A line you cannot see is a line you cannot aim, and a board that makes the line visible removes the most common cause of a failed setup: an operator guessing where the beam is.
It also works outside ADAS work, as a general target for levelling and alignment tasks in a bay. One board, two references: a 5-line radar reference and a 2-line configuration for centreline work.
Who This Tool Works Best For
It suits a shop that already has a laser level and struggles to read it across the bay. If you have no laser level, this board does nothing on its own, so it is a second purchase rather than a first one. It is a cheap way to raise the quality of everything else in the bay that uses a line.
Where It Falls Short
The 30-day warranty is the weakest in this group by a wide margin, and six reviews including one clearly negative report is not enough to argue against it. Be clear about the category, too: this is an accessory for an alignment workflow, not an alignment system, and it reads no angles of its own.
What a Laser Alignment Tool Can and Cannot Measure
It is worth being blunt about the limits, because most listings on this topic are vague about them. A laser alignment tool of the kind reviewed here projects or receives a line. From that line you can judge whether two components are parallel or centred. You can count teeth or measure a gap if you add a scale. That is the ceiling.
You cannot read camber, caster, toe or thrust angle with any of these. Those angles come from clamped sensor heads, a vehicle spec database and software that computes the required adjustment, and that is shop-rack equipment. Thrust angle in particular, which is how far the rear axle sits off parallel to the front, needs measurement from both ends of the vehicle, not a single component.
Even within its own category, the accuracy ceiling is real. The best published figure in this group is the Gearhead Zone tool at 1mm over a 1 meter span. Every other tool here ships with no stated tolerance, which does not mean they are worse, but it does mean you are trusting the beam rather than a number. Contributors on the DIY alignment threads make a related point from the other direction: suspension mounting tolerances are wide enough that tenth-of-a-degree precision claims from any tool, cheap or expensive, should be taken with a grain of salt.
So use these tools for what they are good at, which is fast setup checking and repeatability after every adjustment. Reach for a rack when the question is geometry.
How to Choose a Laser Wheel Alignment System: Seven Criteria
1. Match the tool to your component, not your ambition. Chain and sprocket alignment, belt and pulley alignment, wheel balancing and ADAS centreline setup are four different jobs with four different tools. Nothing here does all four, and no amount of clever use changes that. The most common purchasing mistake is buying a chain laser for a belt drive, or the reverse.
2. Ask for a tolerance figure. If a manufacturer publishes one, take it seriously. A stated accuracy to within 1mm over 1 meter is a claim you can test yourself. An unqualified claim of precision is marketing. The absence of a figure does not disqualify a tool, but it should lower your expectation of what a reading means.
3. Check how it attaches to your actual hardware. Magnetic feet, a clamp on a tooth, a clamp on a face: each has a surface it needs. Read the reviews for complaints about fouling chain guards, safety brackets, hub housings and pulley grooves, because those are the four failure points that show up over and over in owner feedback on every product here.
4. Consider how often it has to be recalibrated. A tool that arrives pre-adjusted saves you an evening and, more importantly, removes the temptation to skip calibration. Budget for the ones that do not, and check whether a calibration accessory is in the box. The Kylazer includes two calibration accessories and still draws complaints about the template routine being fiddly.
5. Look at beam visibility, not just brightness claims. You will use this in a shaded garage or under a vehicle, not on a clean bench under studio light. A visible beam in poor light is worth more than a brighter beam you cannot see. Reviews that mention visibility are more useful to you here than any spec sheet.
6. Weigh the review count honestly. Two products in this group have fewer than ten reviews and one has three. Those ratings are provisional. Where you have a choice between a tool with fifty reviews averaging 4.1 and a tool with five reviews averaging 4.7, the larger sample is the better-informed decision, and we have ranked on that basis throughout.
7. Match the warranty to the use. A two-year manufacturer warranty tells you the maker expects regular workshop use. A 30-day warranty on an accessory tells you almost nothing. For a tool that gets handled roughly, adjusted constantly and occasionally dropped, warranty length is a fair proxy for how the maker expects it to be treated.
One last note on a category we did not rank. If you work on heavy trucks or trailers, alignment is a different discipline with its own equipment, and the hardware side of that world is covered separately in our guide to the best fifth wheel hitches for trucks.
Garage Setup and Pre-Inspection Checklist
Most frustration with alignment tools comes from the tool. A fair amount comes from the setup. These are the things that reliably come up in owner accounts, and they cost nothing.
Check the component before you align it. A worn chain, a bent sprocket or a stretched belt will not stay aligned, and no tool fixes that. Replace the part first, then align. This is the most repeated piece of advice in the home alignment communities, and it applies with equal force to chain work on a bike.
Clear the guards. On many machines the chain guard sits directly over the line you are trying to read. Reviewers repeatedly note that the guard has to come off before the laser reads true. Budget ten minutes and the correct hex keys before you start rather than discovering it halfway through.
Verify calibration before you trust a reading. The GarageJournal trick from an owner of a light-based portable is the one we would teach anyone: switch the heads to the opposite side, and the readings should match in magnitude and reverse in direction. If they do not, your laser is off and everything after it is fiction. Two minutes, no equipment.
Give the bike a stable base. A stand that flexes will move the sprocket while you adjust, and you will chase your own tail. Anything you are aligning should be held rigidly enough that tightening an adjuster does not shift it.
Work in light you can see the beam in. Visibility is the recurring theme in reviews of these tools. A shaded garage at the end of a long day is the worst case, and it is when people record a reading they should not have trusted.
Mark what you changed. On multi-adjustment tools, a pencil mark on the adjuster position before each turn saves you from redoing a step. This sounds trivial and is not, particularly on sprocket bolts that need a specific torque and a specific angle.
Frequently Asked Questions
What is the best laser alignment equipment?
For chain and sprocket work with the widest owner feedback behind it, the Tru-Tension Mega Tool Bundle is the best of this group. It combines an adjustable chain tensioner with a laser that projects down the chain centreline, so you can tension and align in one session. For belt and pulley work, the Kylazer magnetic-base tool is the stronger choice. Note that none of these read camber, caster, toe or thrust angle; that requires a full wheel alignment rack.
How accurate are laser alignment tools?
It depends entirely on what the manufacturer publishes, and most publish nothing. The strongest stated figure in this group is the Gearhead Zone tool, certified accurate within 1mm over a 1 meter span, with the laser centreline and clamp leg machined coplanar. The other tools here ship without a tolerance figure, which means you are trusting the beam rather than a number, and it is worth verifying calibration yourself before you rely on any reading.
Is laser alignment better than the string method?
For the jobs covered here, yes, mainly on speed and repeatability. A laser gives you a live line you can watch while you turn an adjuster, where the string and tape method requires laying out and re-measuring repeatedly as the car or bike shifts. The string method still works on cars, trucks and semis for anyone used to it and it costs almost nothing, but it is slow. The real limit on either method is worn components, which no tool corrects.
What is the best laser alignment tool for a home garage?
For most home garages, the DOXOI Laser Chain and Sprocket Aligner is the most convenient pick: it arrives pre-adjusted from the factory, weighs 8 ounces, fits in a toolbox, and has a nylon-tipped clamp that will not mark your sprocket. If your work involves belts and pulleys rather than chains, choose the Kylazer instead, since its magnetic feet attach to surfaces a clamp cannot grip. If you work on wheels rather than drive trains, the Laser 8236 bench stand handles balancing and rim checks off the bike.
Do laser alignment tools need calibrating before use?
Most do, and skipping calibration is the fastest way to get confidently wrong readings. The good news is that it takes minutes, not hours. Tools that ship pre-adjusted still deserve a check after transport, since one owner reports the Kylazer arriving slightly off despite factory calibration. The quick owner test is to flip the heads to the opposite side: the readings should match in magnitude and reverse in direction. If they do not, recalibrate before you use the tool for anything that matters.
Conclusion: Which Laser Alignment Tool Fits Your Work
The best laser wheel alignment system for most people reading this is the Tru-Tension Mega Tool Bundle, because it does two jobs with one tool and has 298 owner reviews behind it. Buy the Gearhead Zone chain aligner if you want a machined body and a published tolerance. Buy the DOXOI if you want something pre-adjusted and small enough to forget in a toolbox. Buy the Kylaser for belts and pulleys, and the Laser 8236 if you balance wheels rather than align drive trains.
And if the question behind your search is really about camber, caster and toe on a car, none of these is the right tool. That is a rack, a bay and a different budget, and we would rather say so than sell you a nice laser that cannot answer your question. For everything these six tools genuinely do well in 2026, the rankings above should save you the wrong purchase.